Installation
Max Mega Menu is a free plugin for WordPress. To install, login to WordPress then go to Plugins > Add New and search for “Max Mega Menu”.
After installation you will see the following changes made to your WordPress Dashboard:
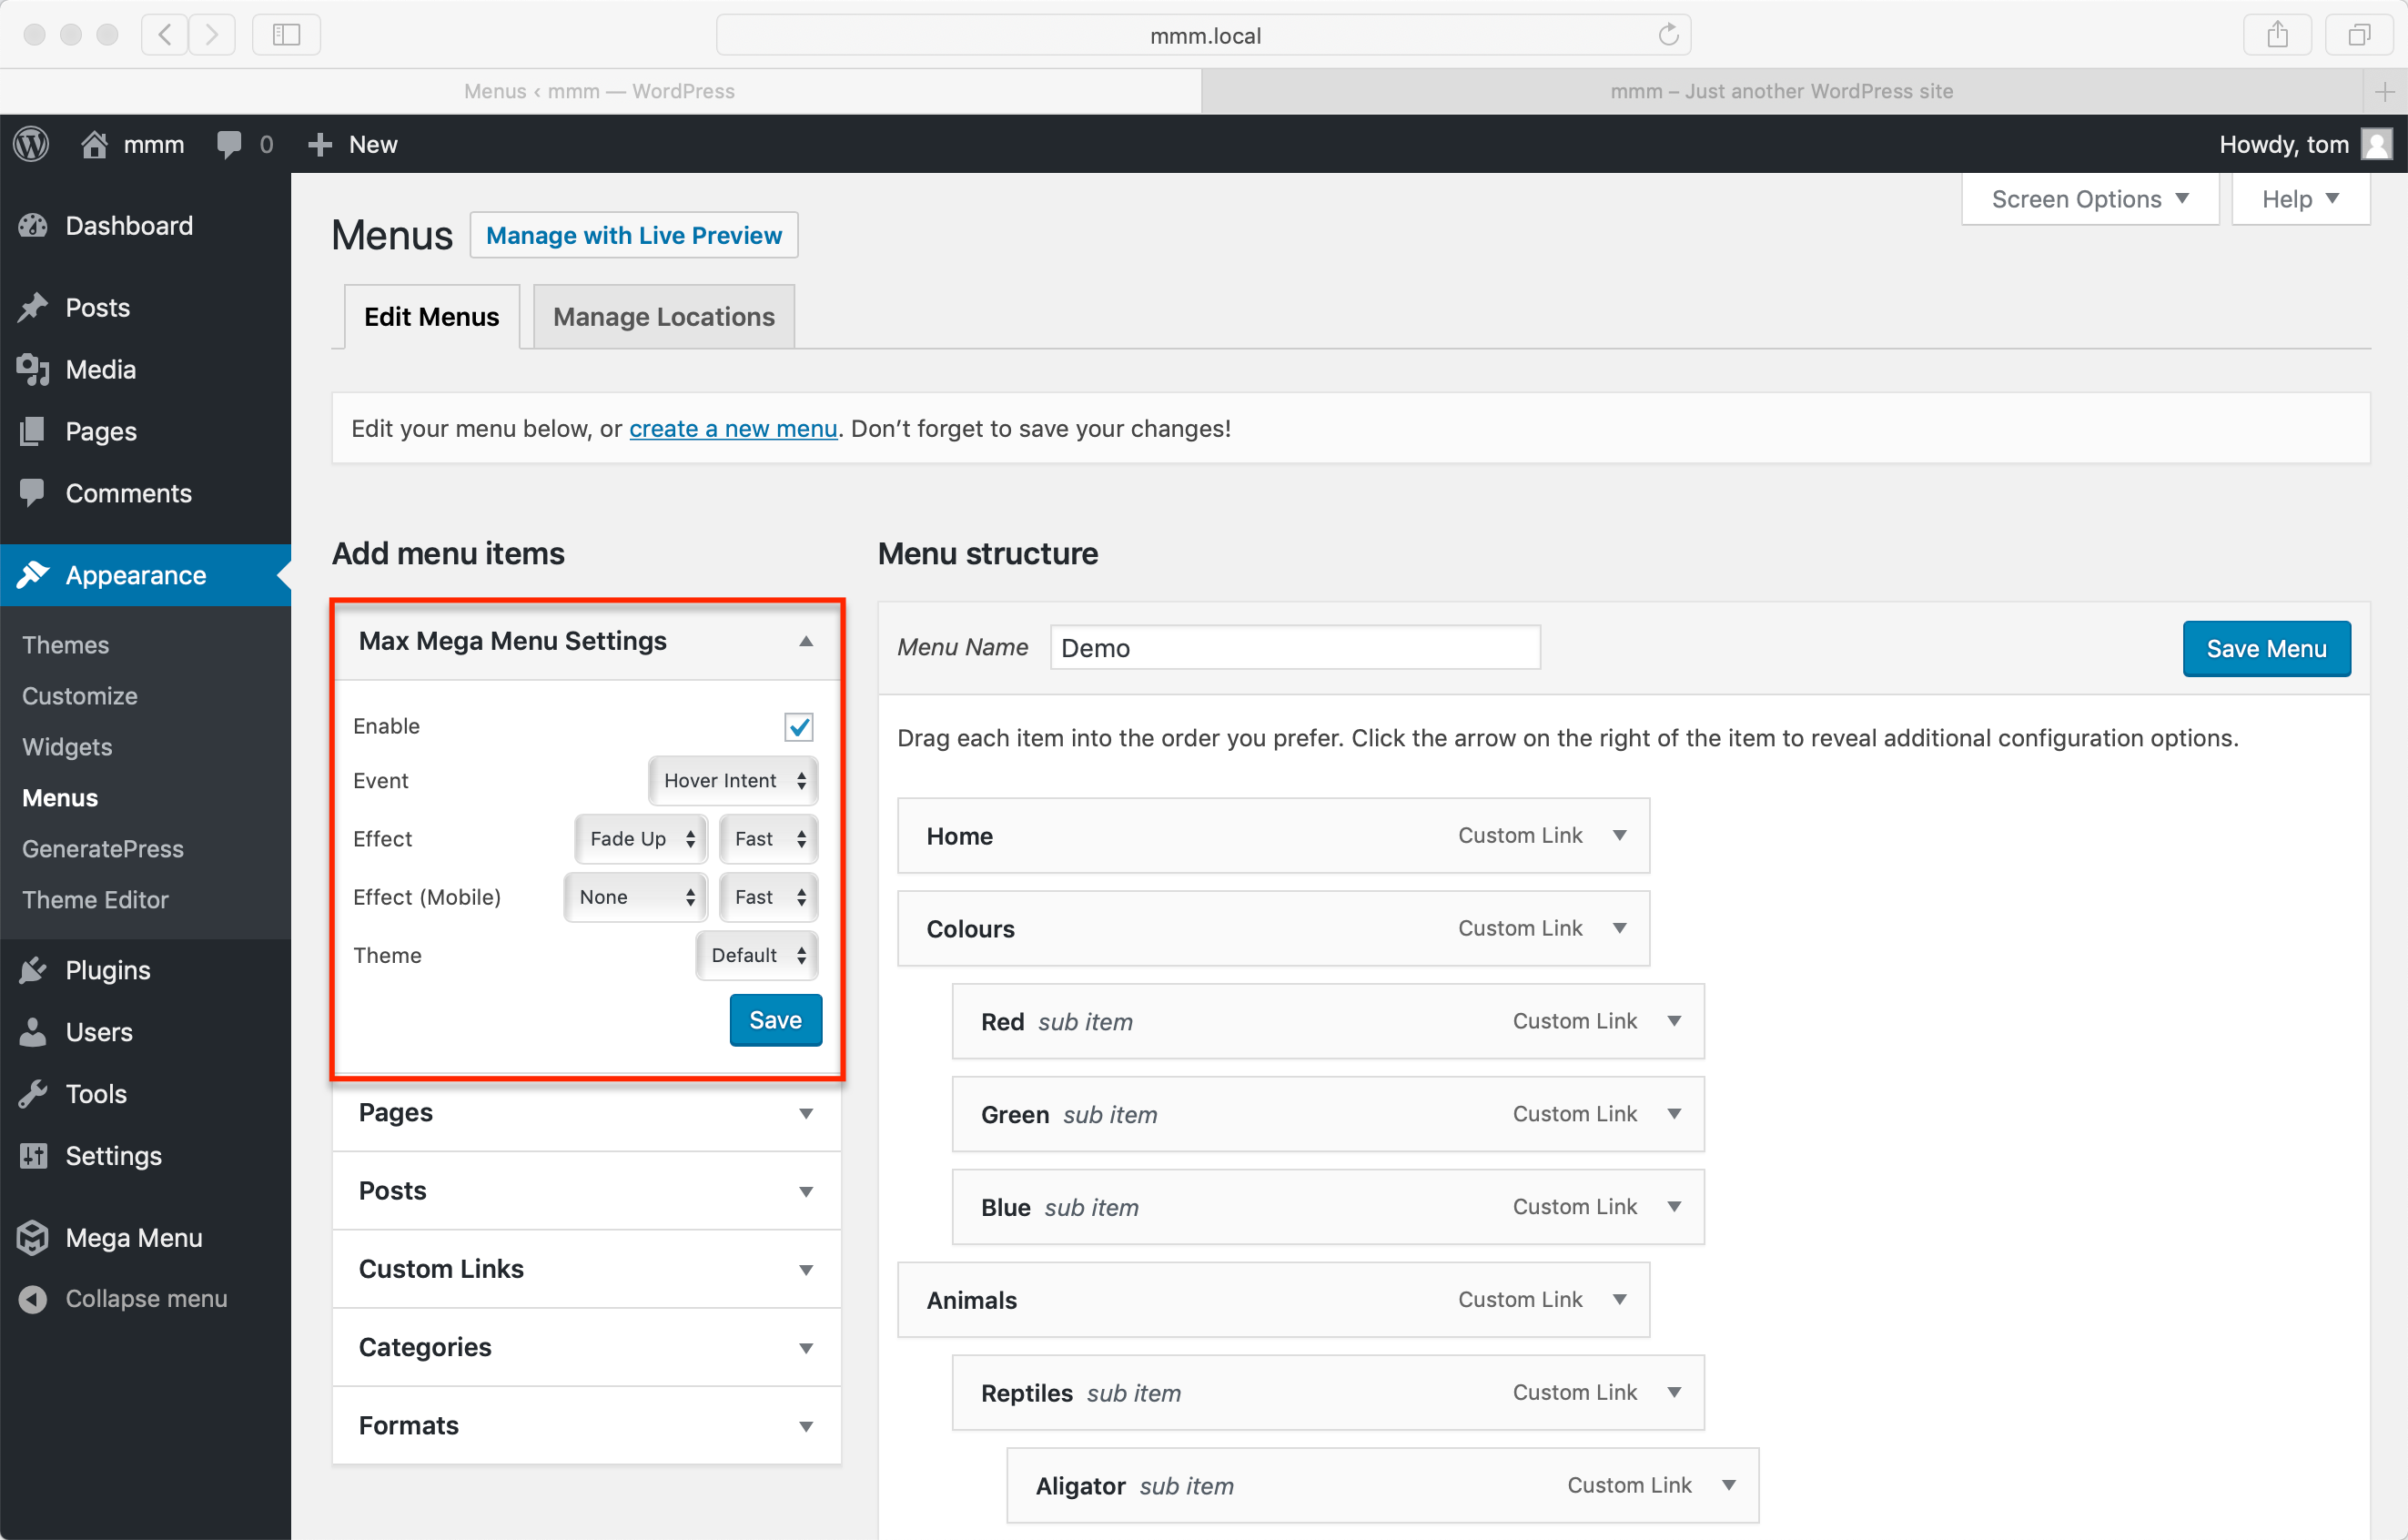
Dashboard > Appearance > Menus (menu management)
There will be a Max Mega Menu Settings box on the left and a blue Mega Menu link will appear when hovering over each menu item.
Dashboard > Mega Menu (plugin options)
This is a new page where you will be able to create menu themes and manage the plugin options.
Max Mega Menu Pro Installation
Users looking for extra menu functionality and priority support can upgrade to Max Mega Menu Pro. After purchase you will be sent a zip file which can be installed by going to Plugins > Add New > Upload Plugin. Max Mega Menu Pro installs alongside Max Mega Menu (free), seamlessly extending the existing menu functionality (there’s no need to rebuild your menus).
We also have detailed Max Mega Menu Pro installation instructions with screenshots.
Enabling Max Mega Menu for a Theme Location
Go to Appearance > Menus.
If you don’t already have a Menu set up then you’ll need to create a new one. Click the ‘create a new menu’ link and ensure your new menu is assigned to a Theme Location at the bottom of the page.
You will see the settings for Mega Menu on the left hand side (under “Max Mega Menu Settings”).

Check the “Enable” checkbox and click ‘Save’.
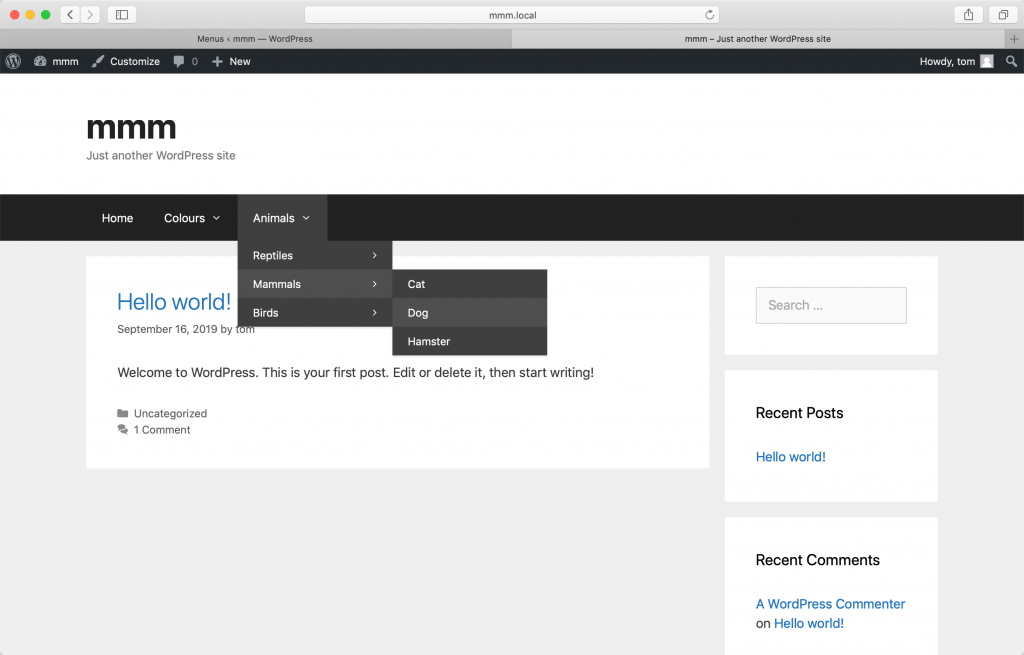
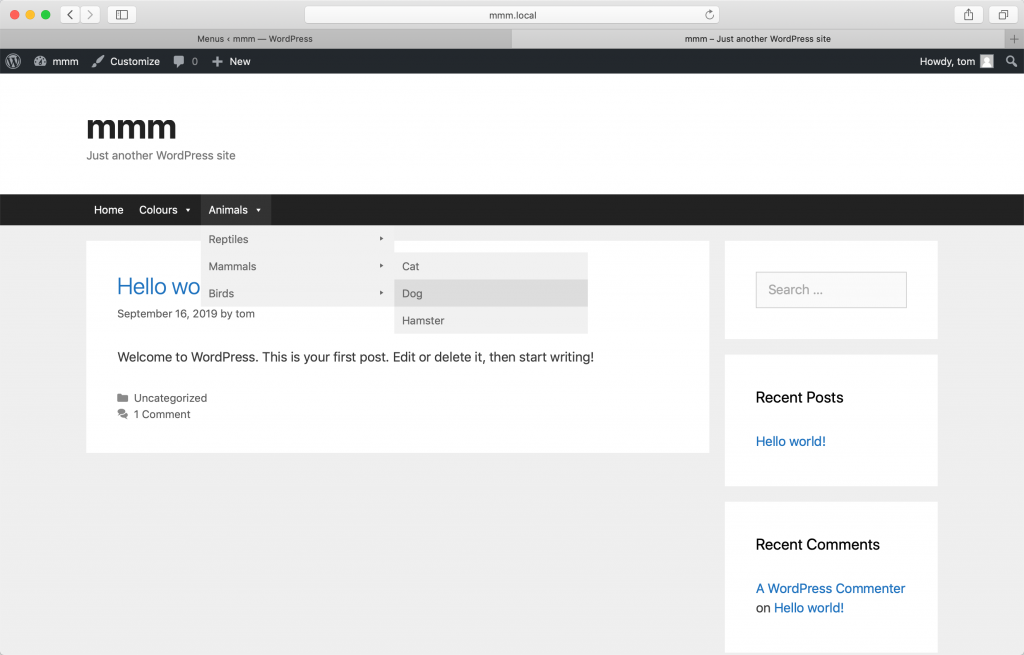
Your menu will now be converted into a Mega Menu for the relevant Theme Location.


Note a slight difference in the styling of the menu. This means Max Mega Menu is now controlling the menu and we can take advantage of the features of the plugin.
The basic setup for Max Mega Menu has been completed.
If your menu doesn’t look right, please check our Theme Integration page for instructions on getting Max Mega Menu working with your theme.
Now we can start implementing the Max Mega Menu functionality. This includes adding widgets to our menu, menu icons and applying custom styling to the menu.