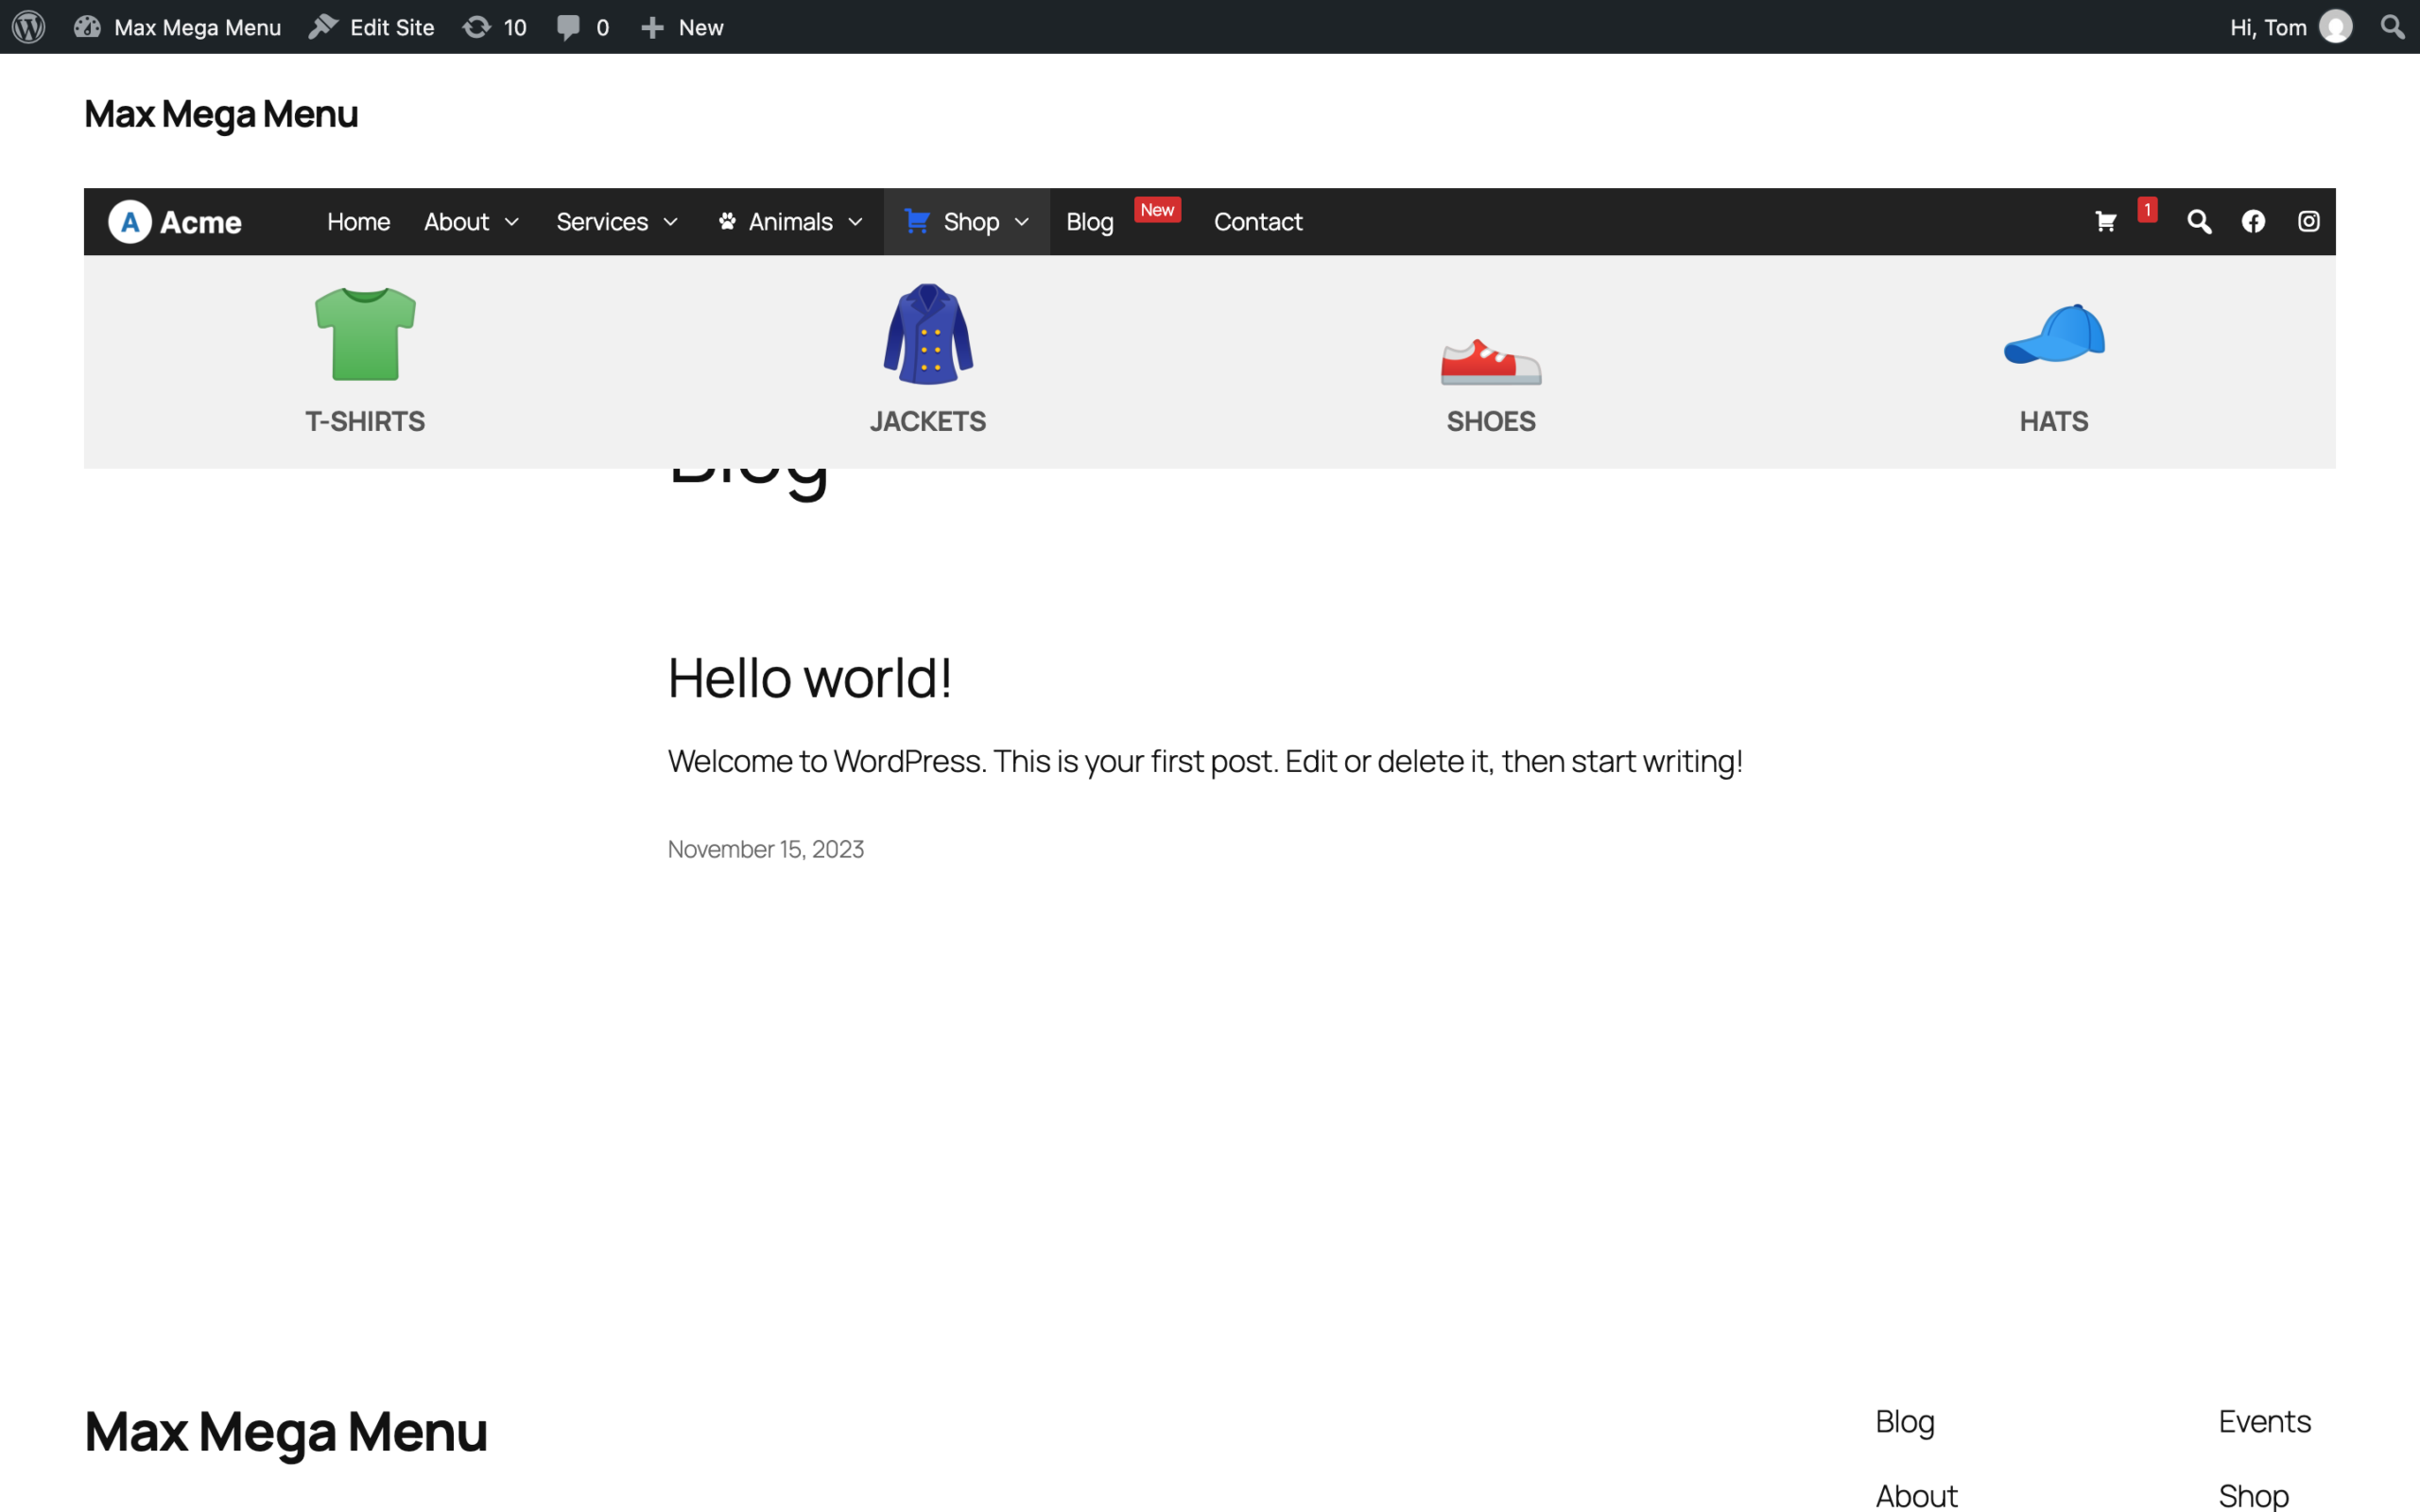
In this article we will go through the steps required to show WooCommerce categories within your menu. For other WooCommerce integrations (such as displaying the cart total in your menu), see WooCommerce.
Step 1: Enable WooCommerce Categories
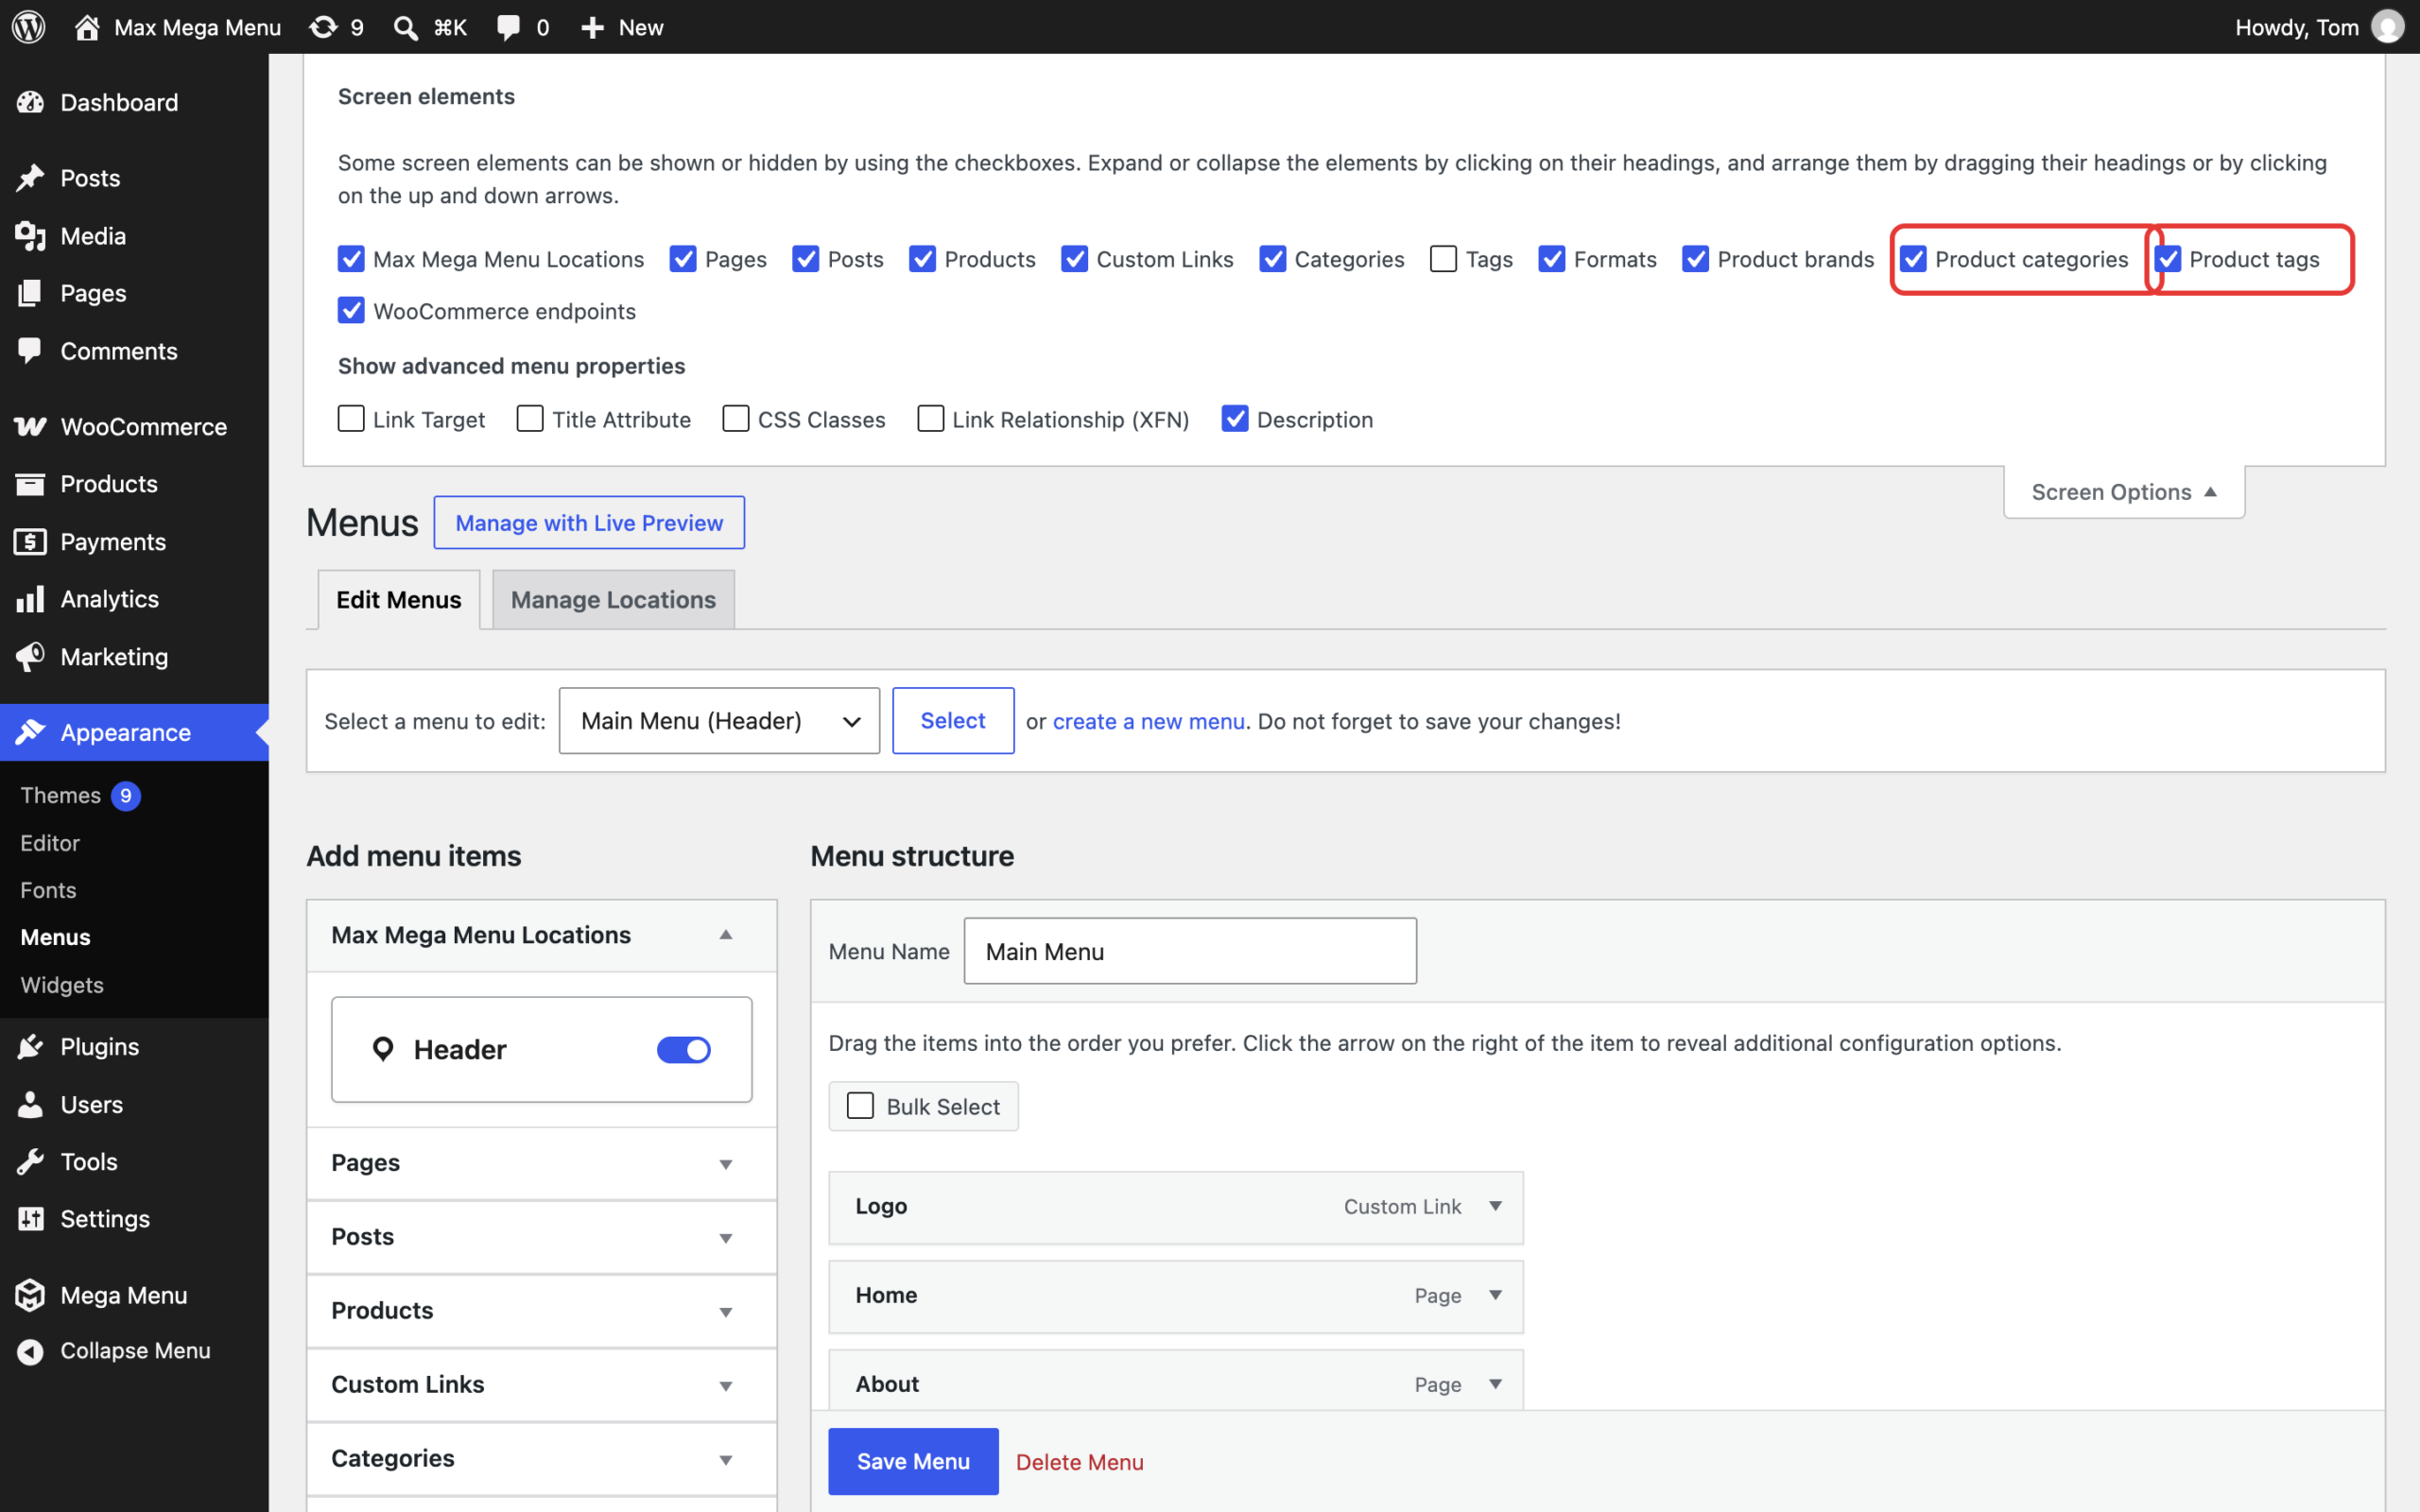
Go to Appearance > Menus and expand the “Screen Options” section at the top right of the page. Enable “Product categories” and “Product tags”.
Step 2: Menu Setup
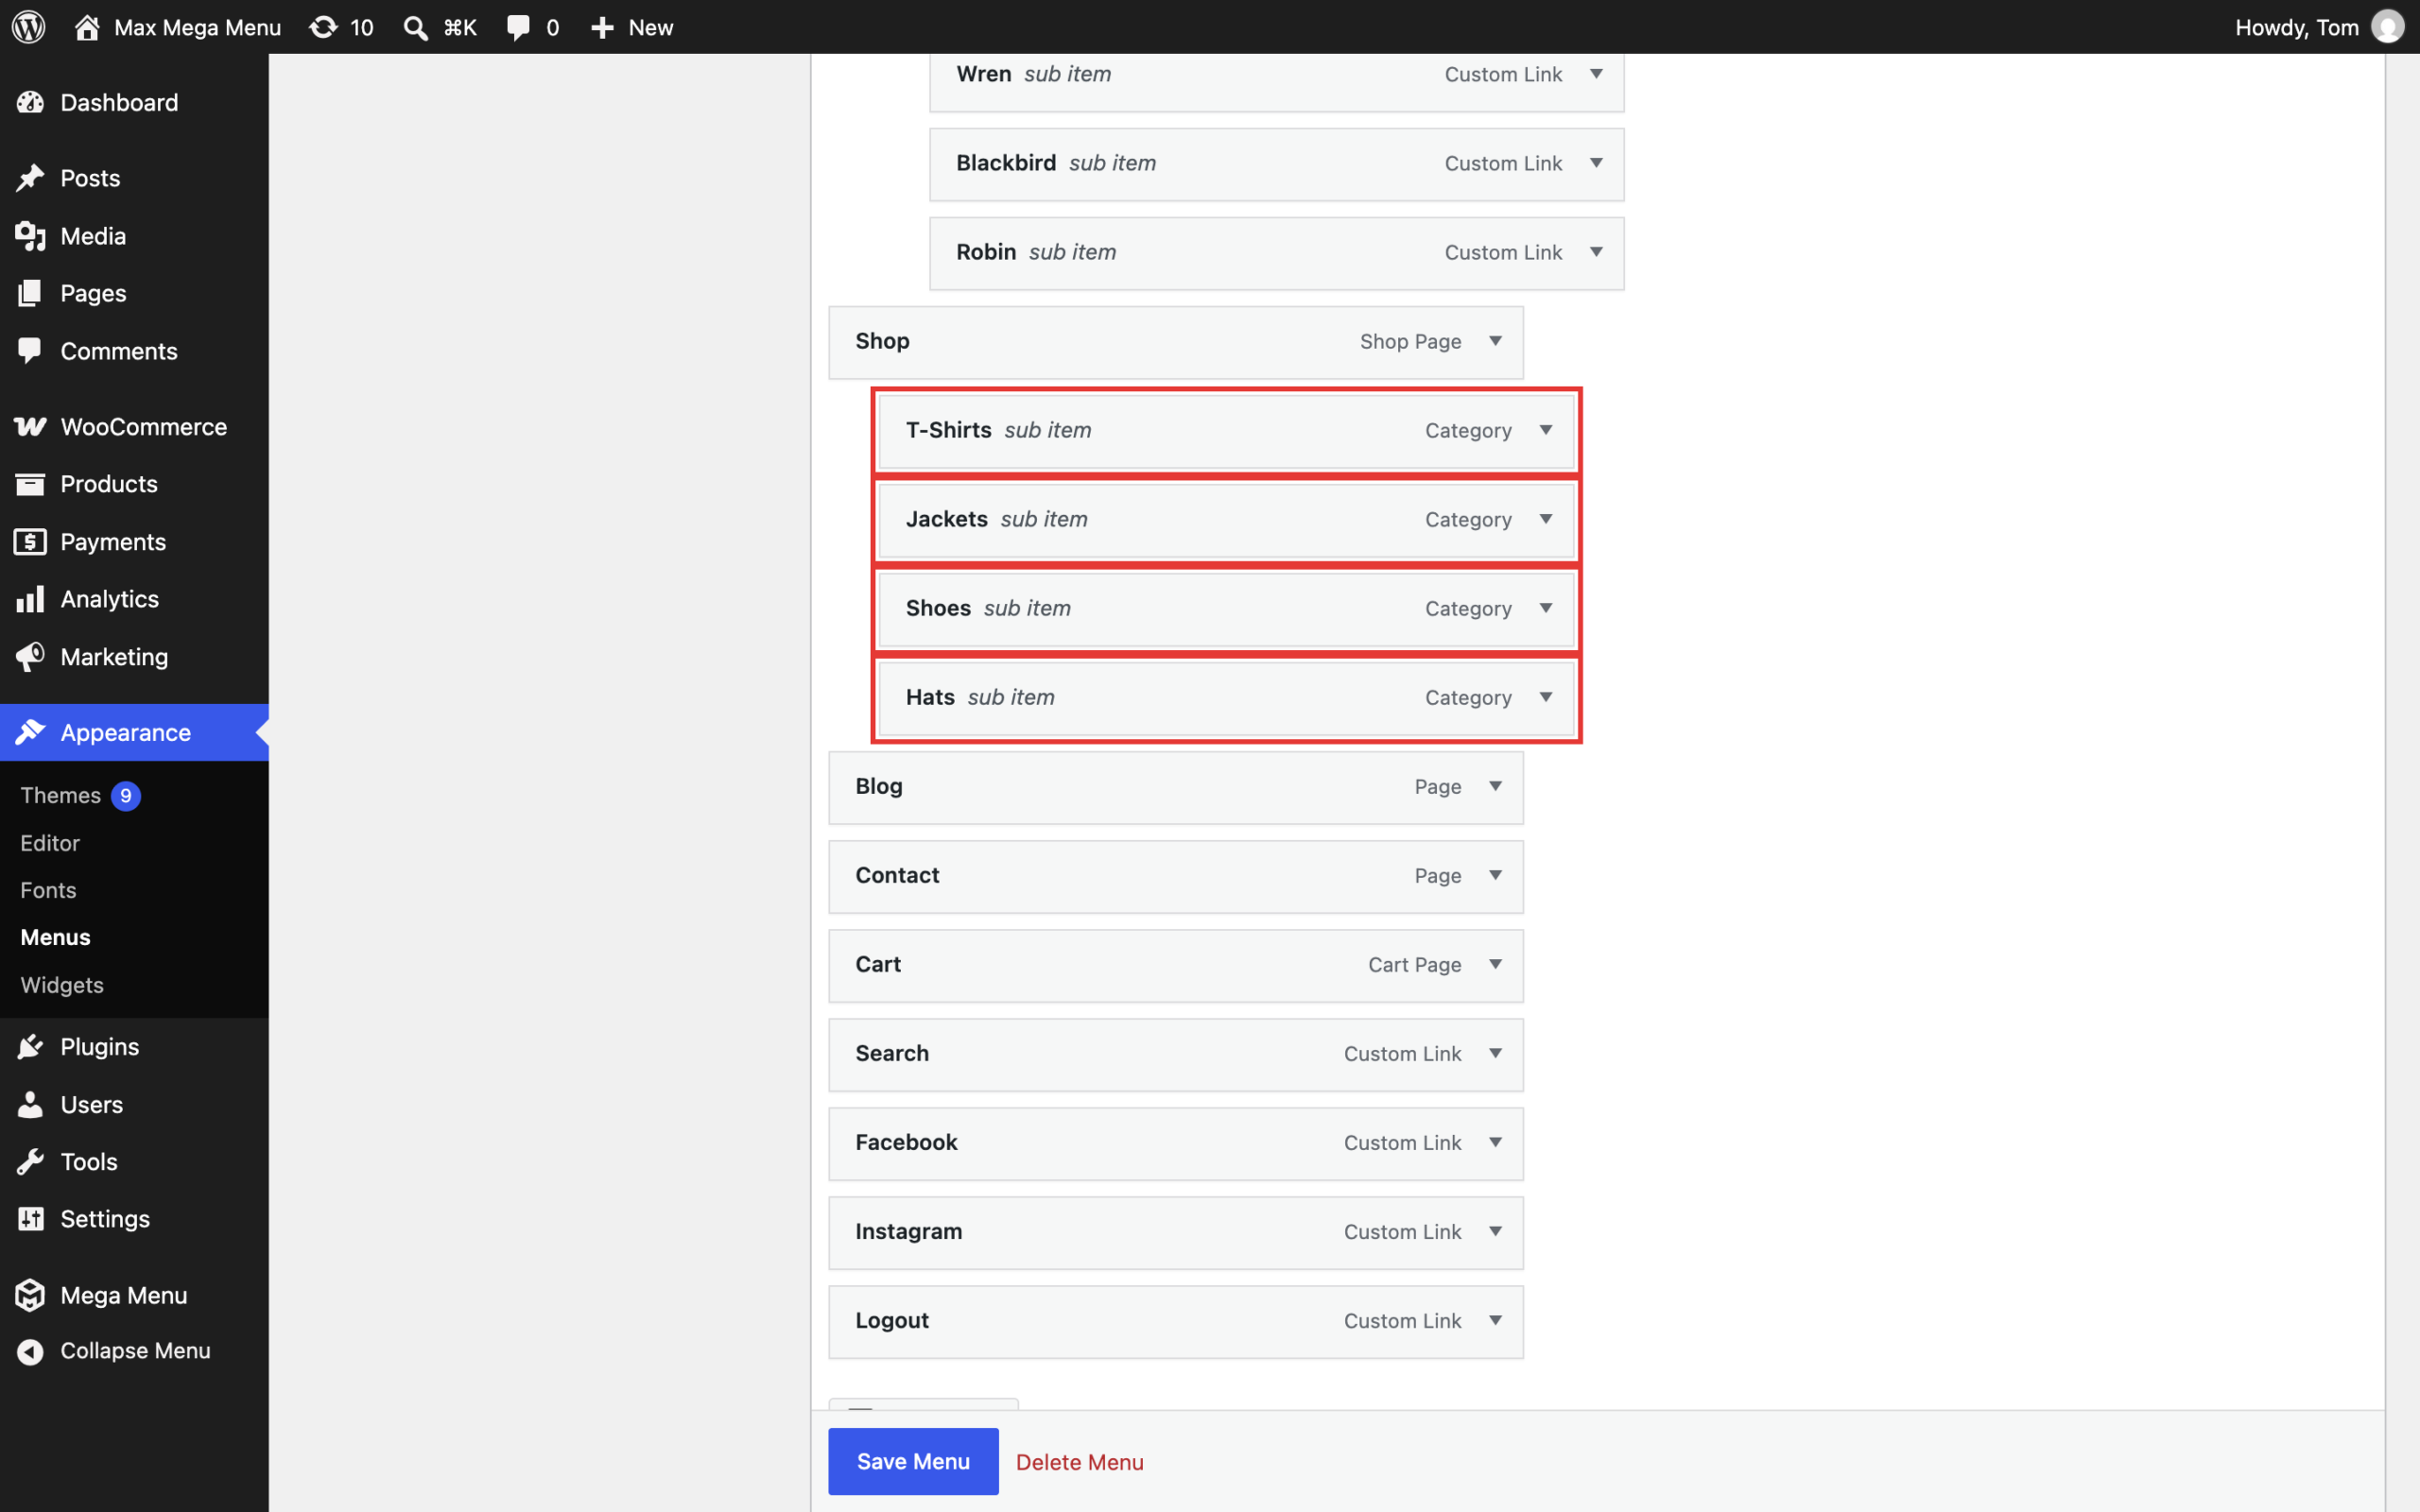
Create a Shop menu item then add your Product categories as sub menu items.
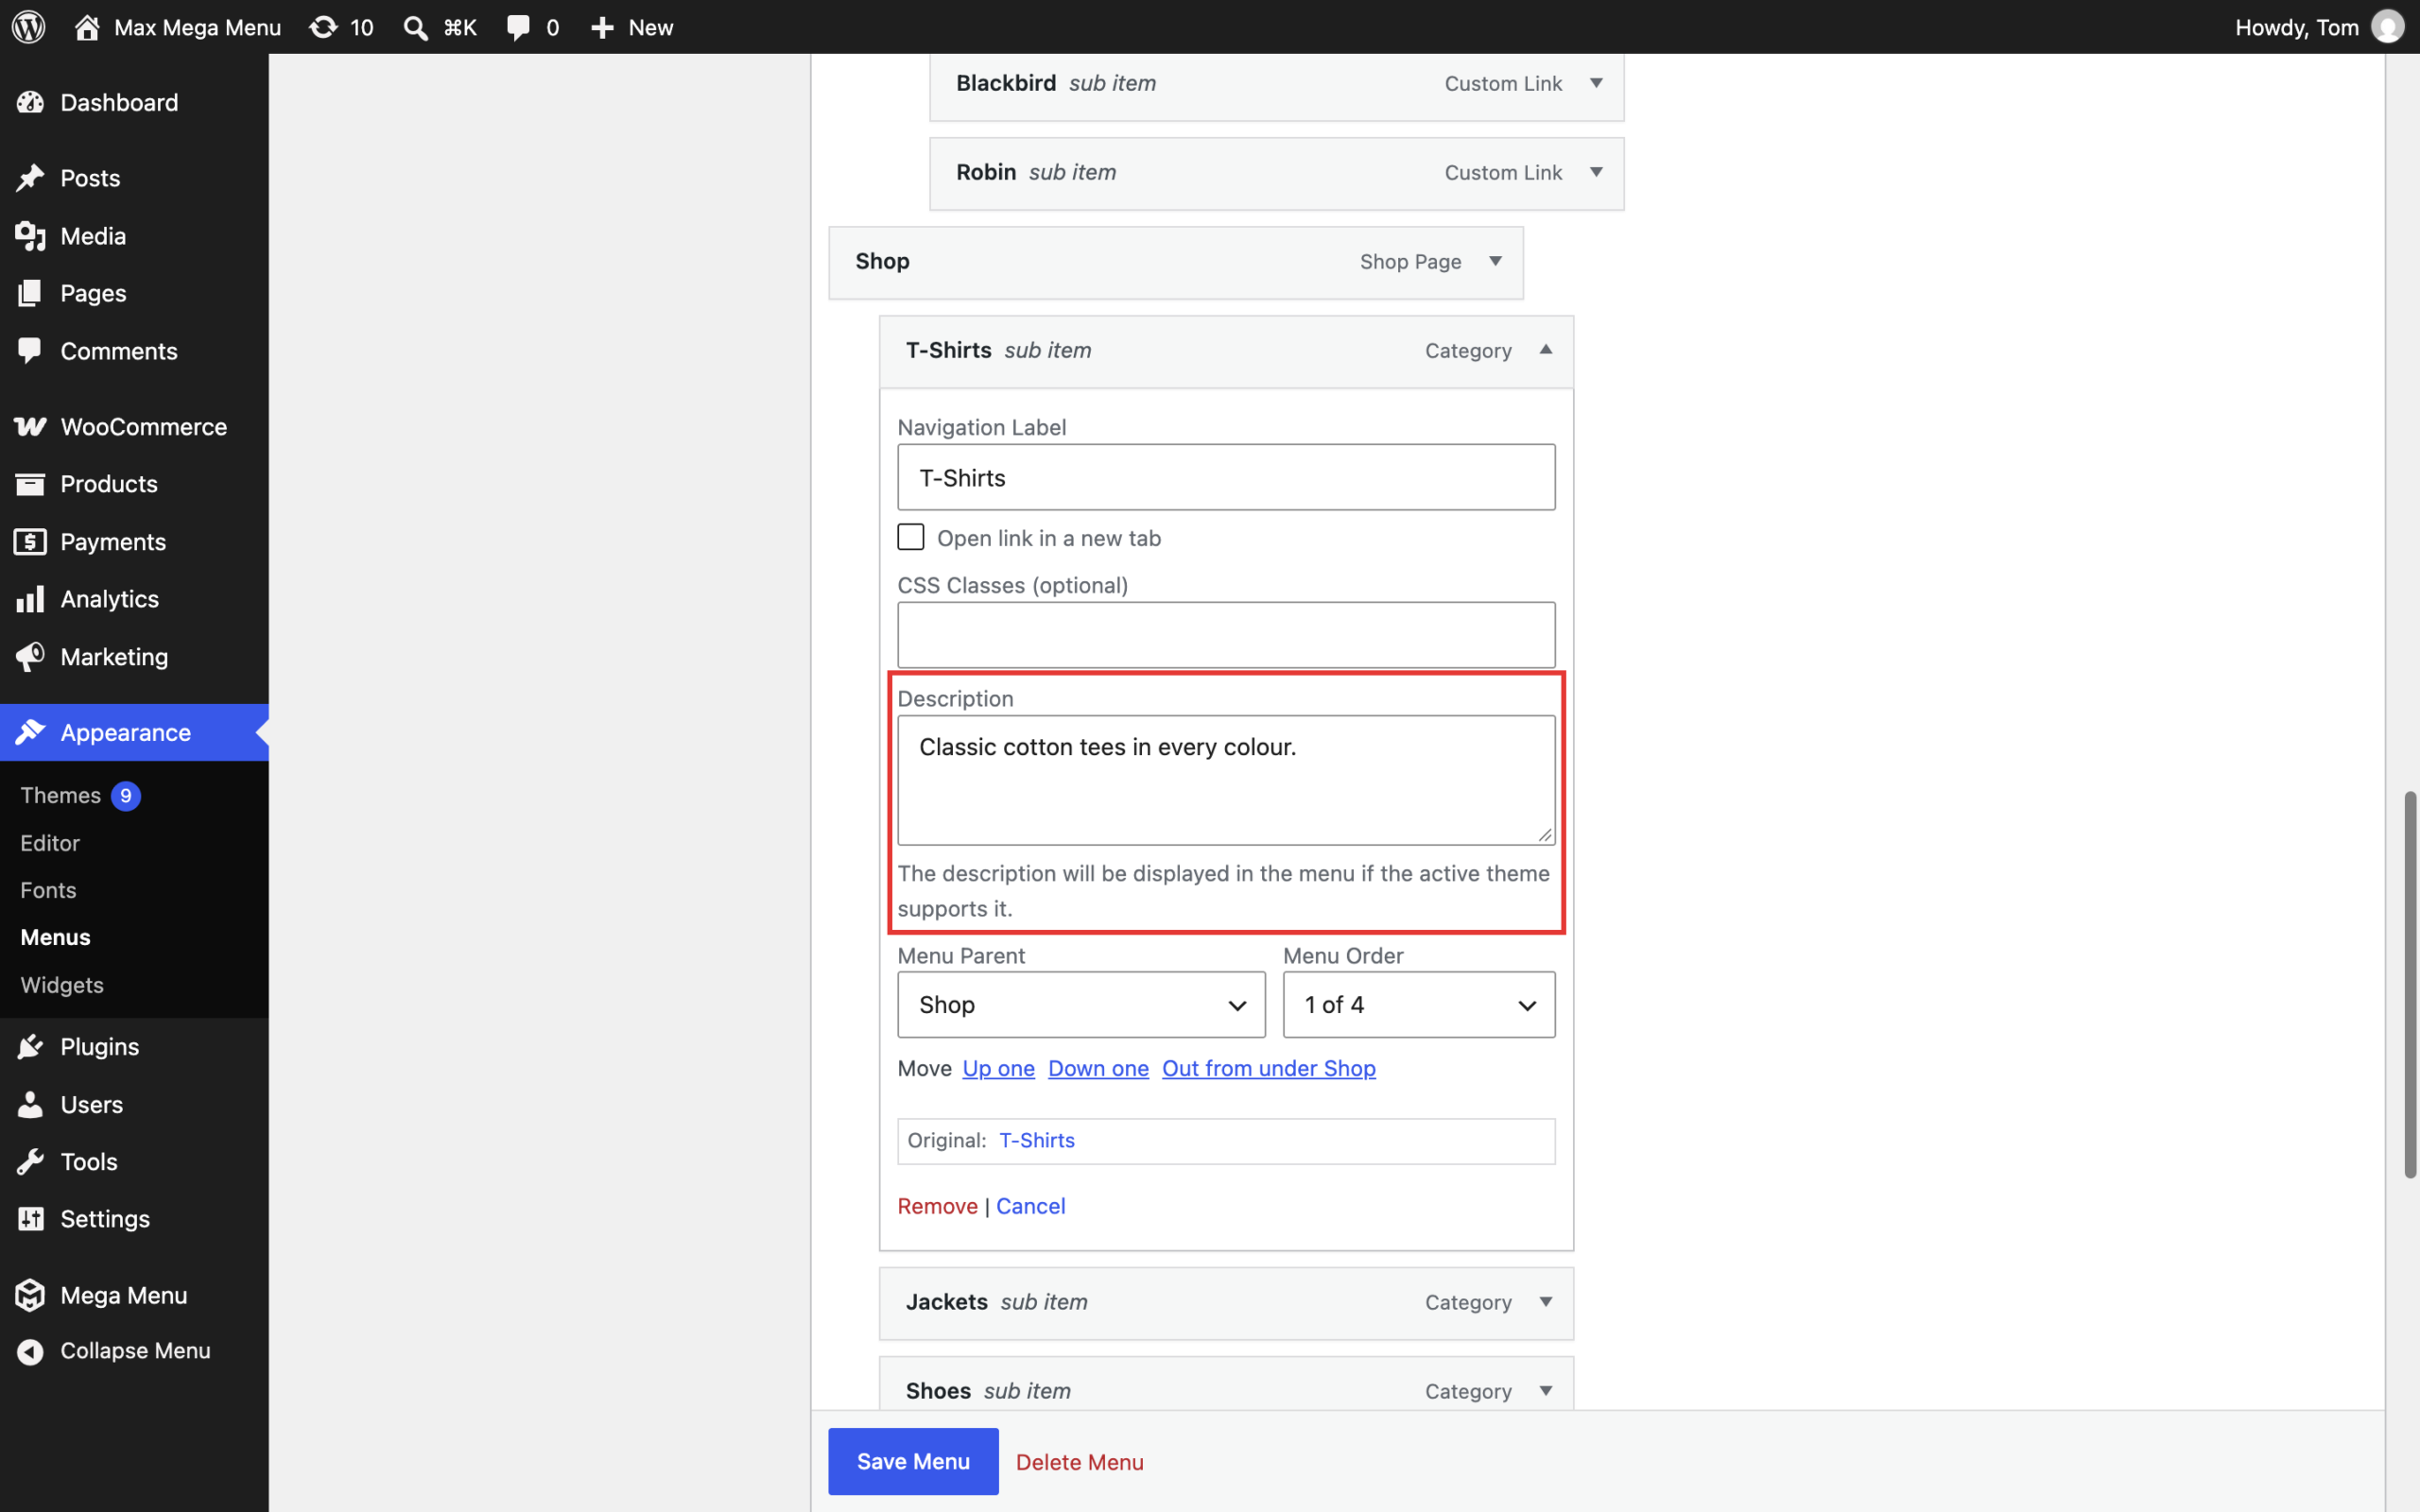
If you have added a description to your Product categories, this will also be carried over to the menu item description when you add it to a menu. You may wish to remove the descriptions at this point:
Save the menu.
Step 3: Mega Menu Setup
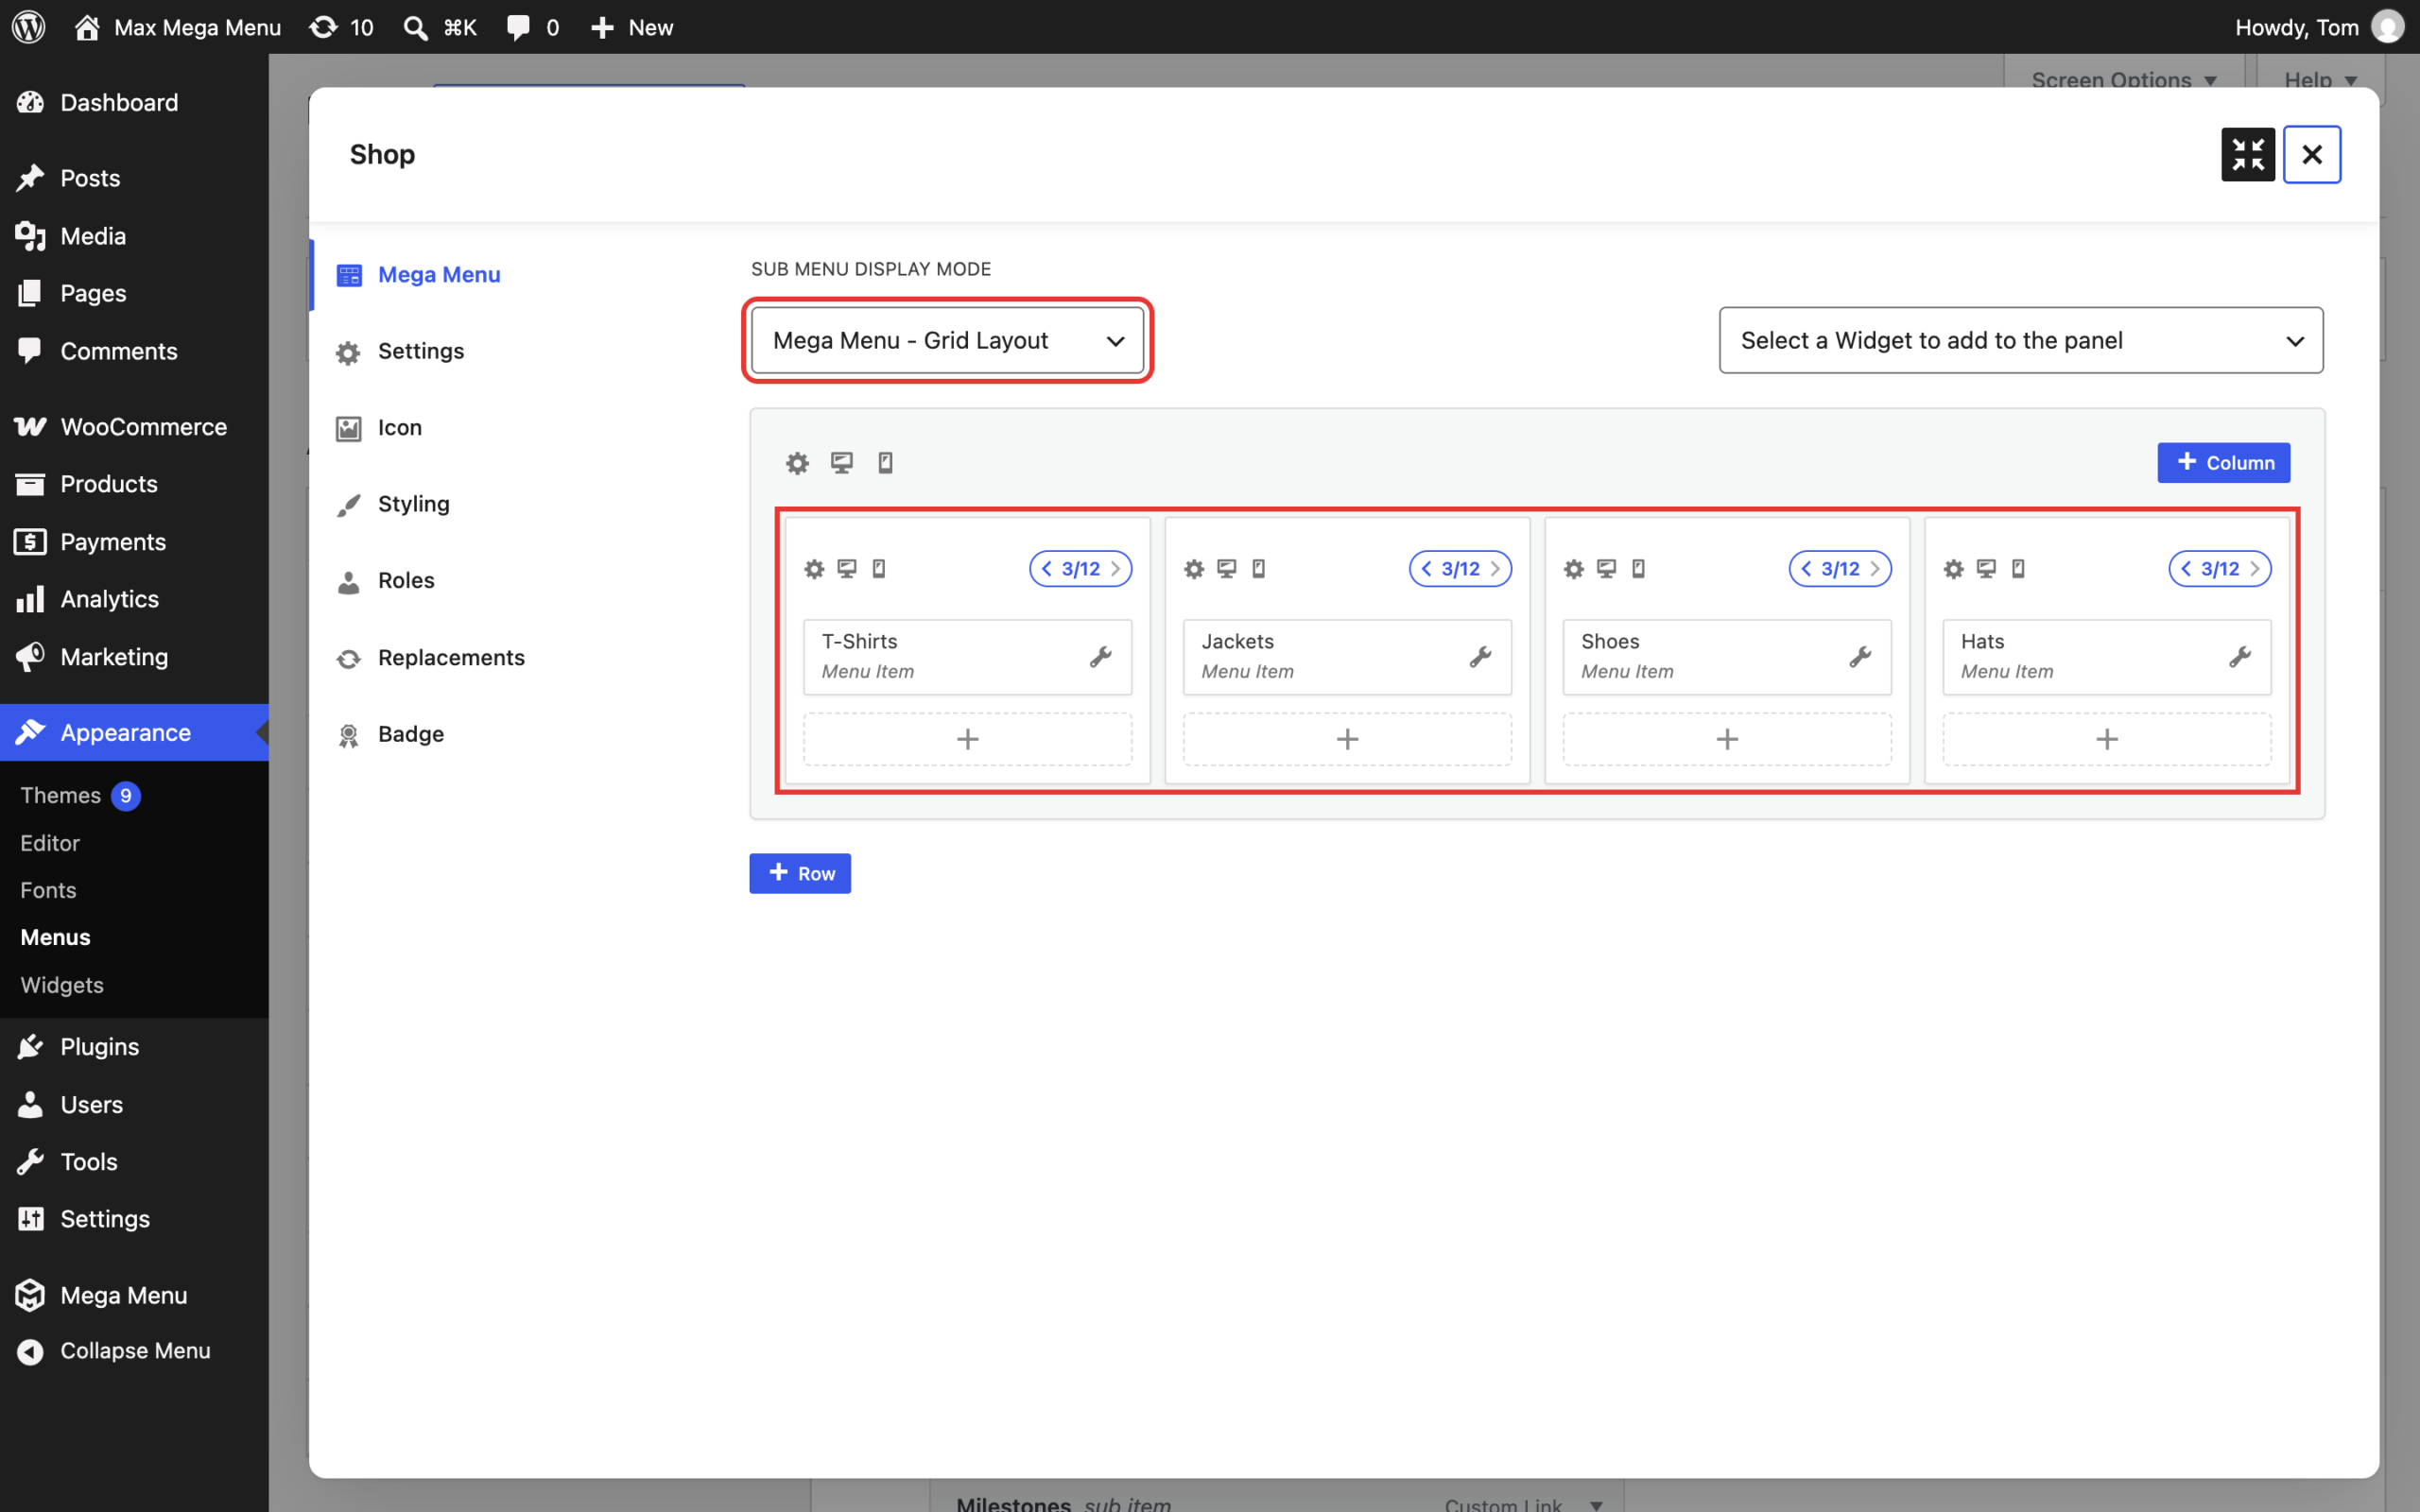
Hover over the “Shop” menu item and click the blue Mega Menu button. Set the “Sub Menu Display Mode” to “Mega Menu – Grid Layout” (see Mega Menus for more information about the grid layout).
The grid layout will be automatically populated with the sub menu items (in this case our product categories). Organise these items into 4 columns.
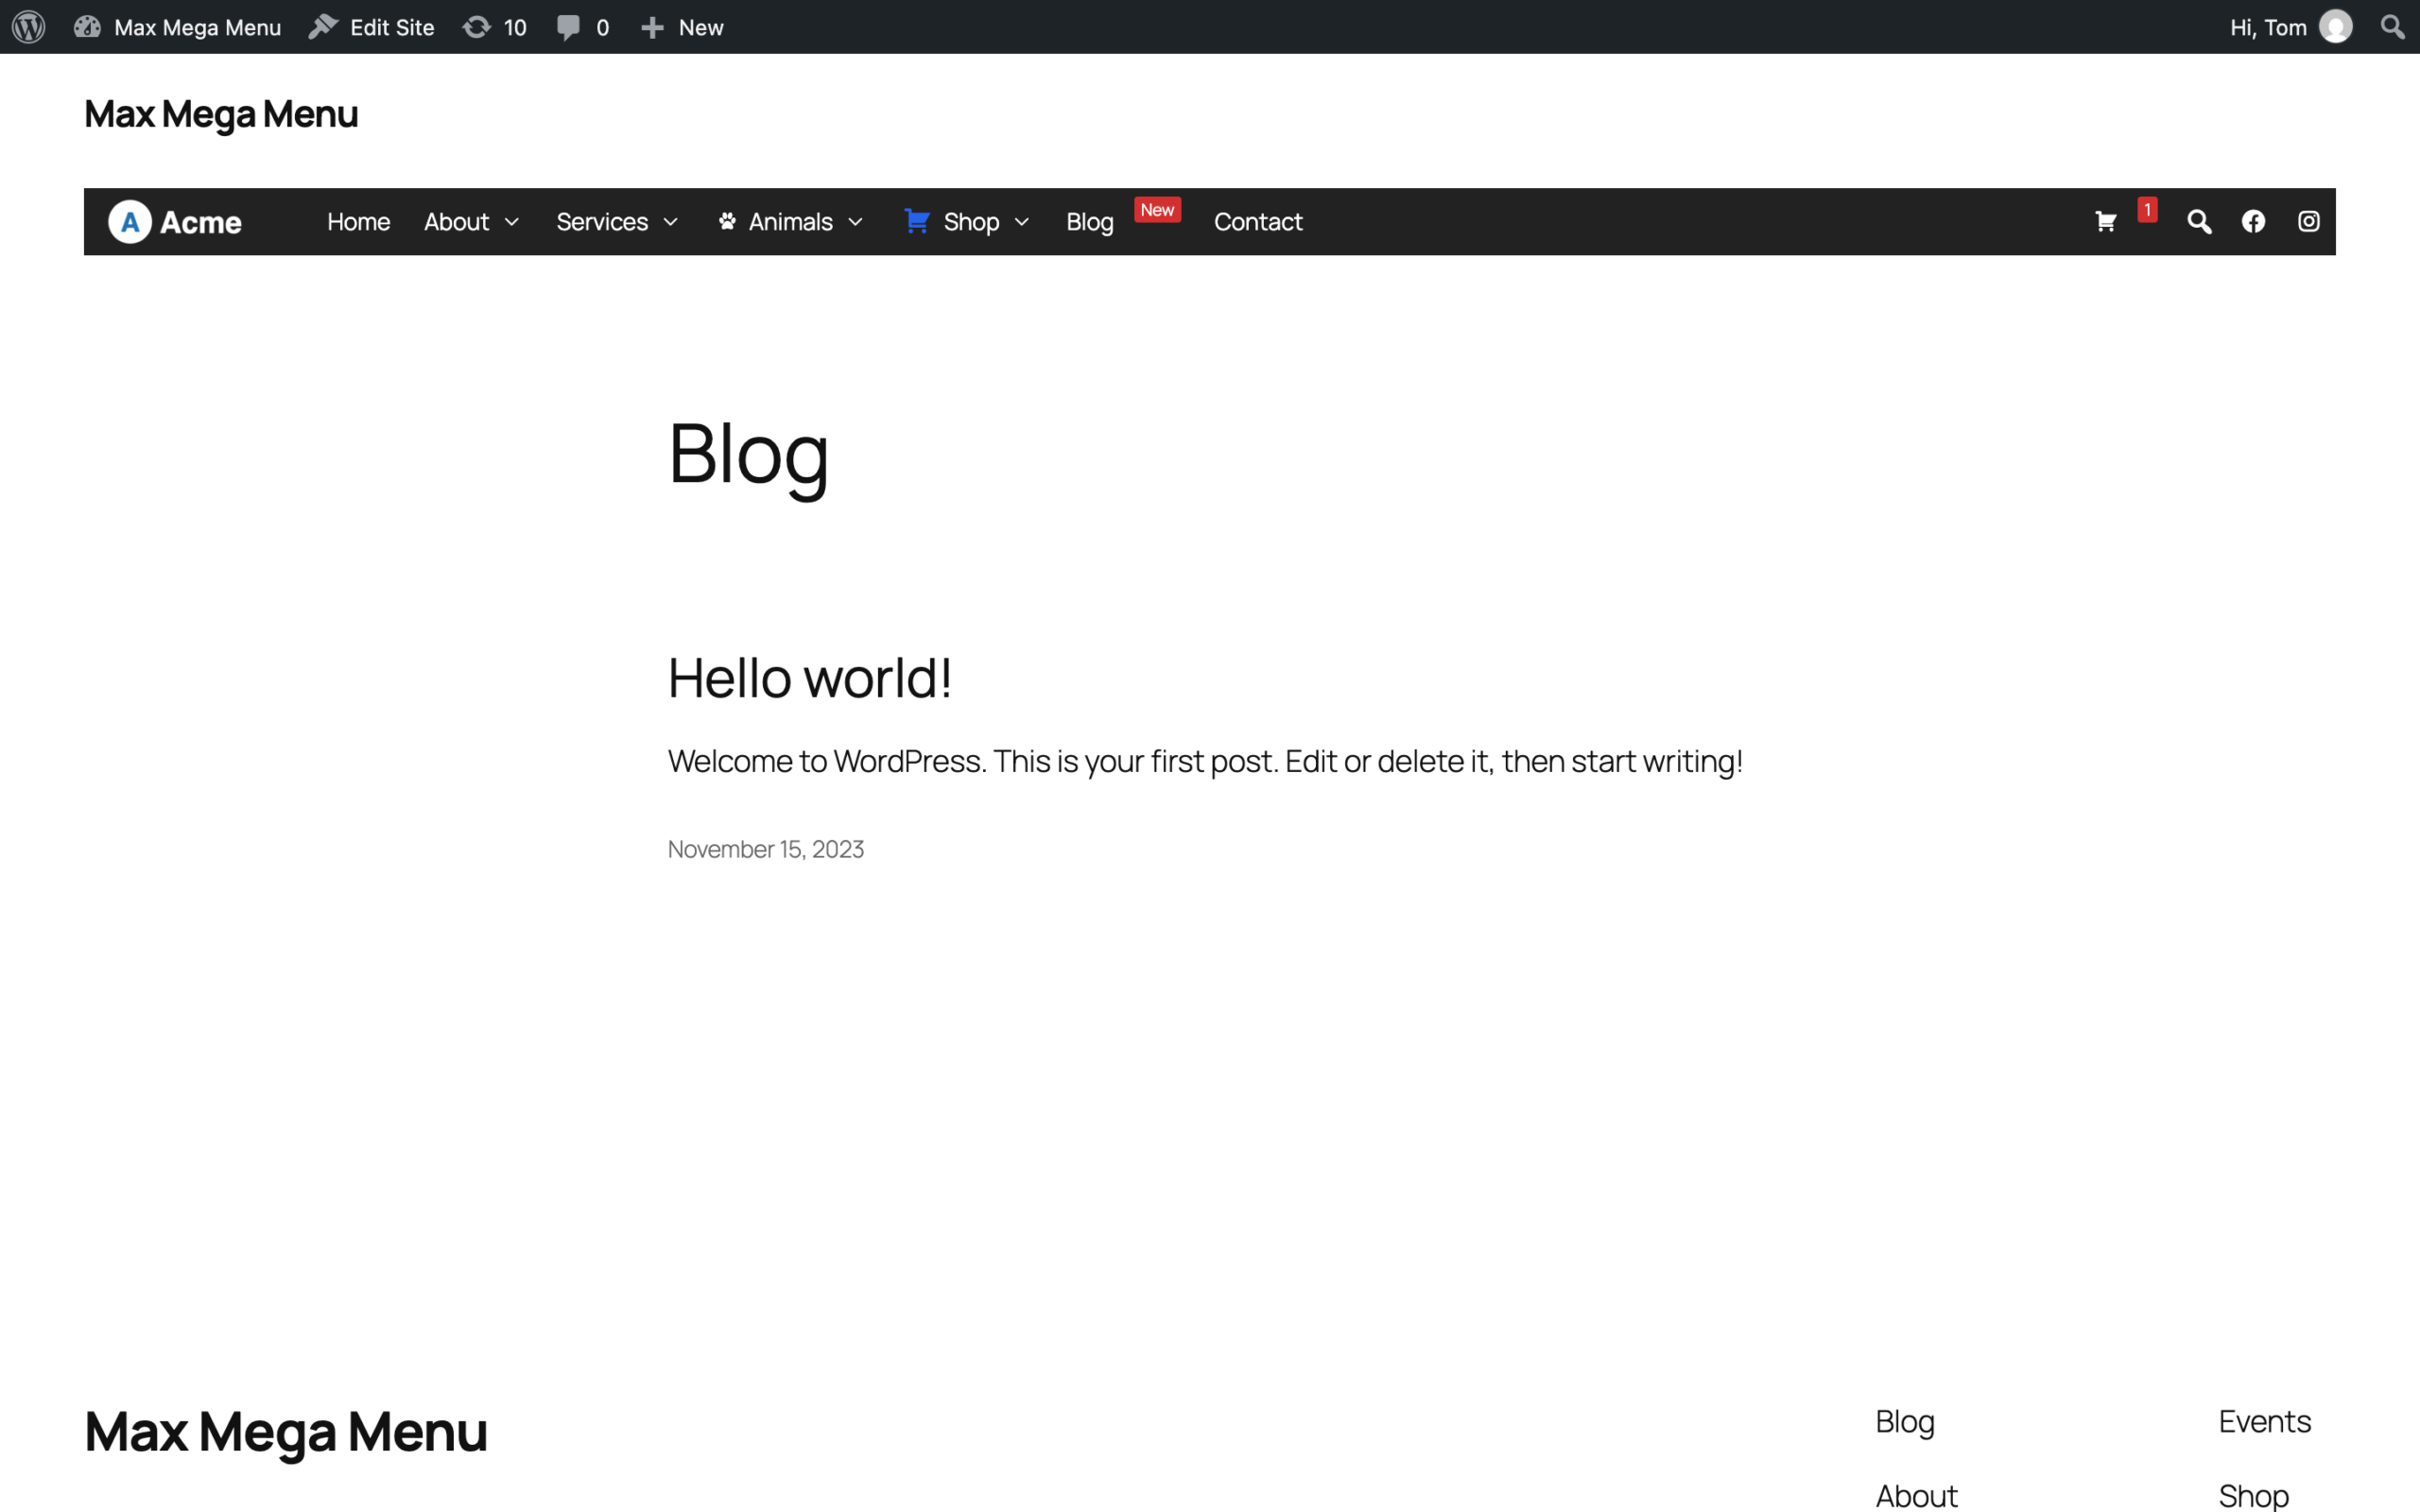
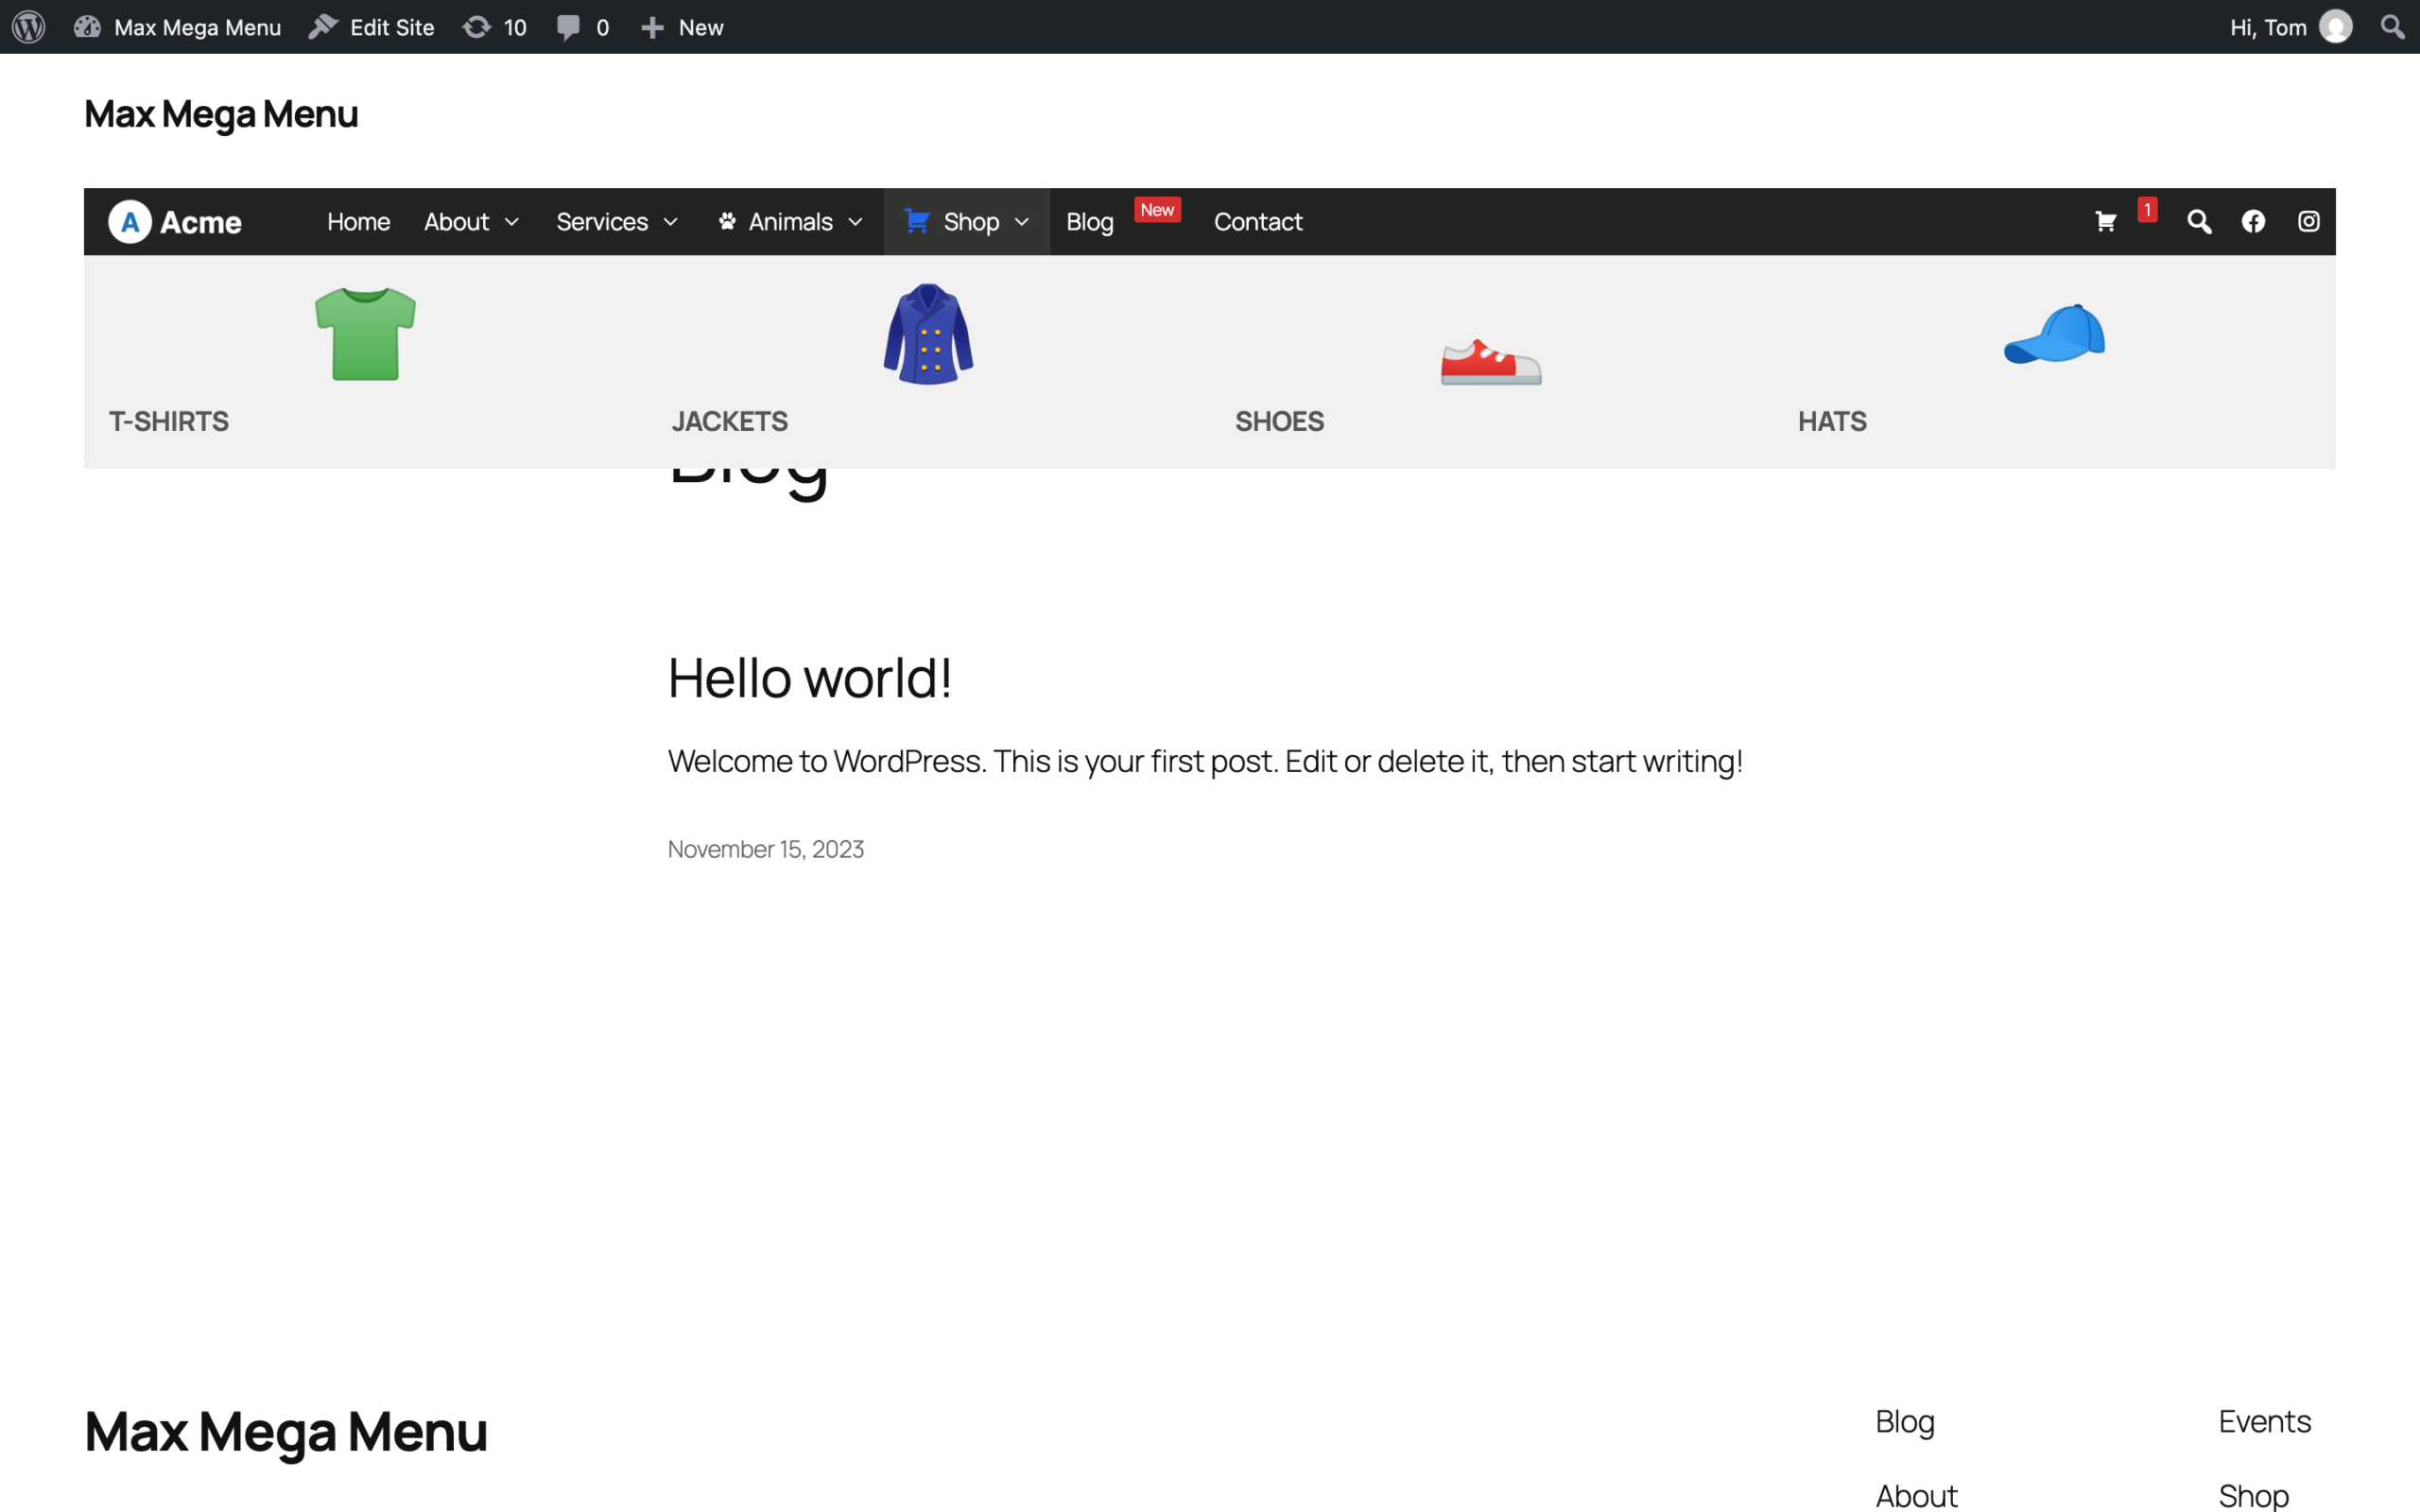
Our menu now looks like this on the front end:
Step 4: Adding Icons to the categories
In this step we’ll be adding custom icons to our WooCommerce menu items. This functionality is part of Max Mega Menu Pro. Users of the free plugin can choose Dashicons instead.
Hover over the “T-Shirts” menu item and click the blue Mega Menu button.
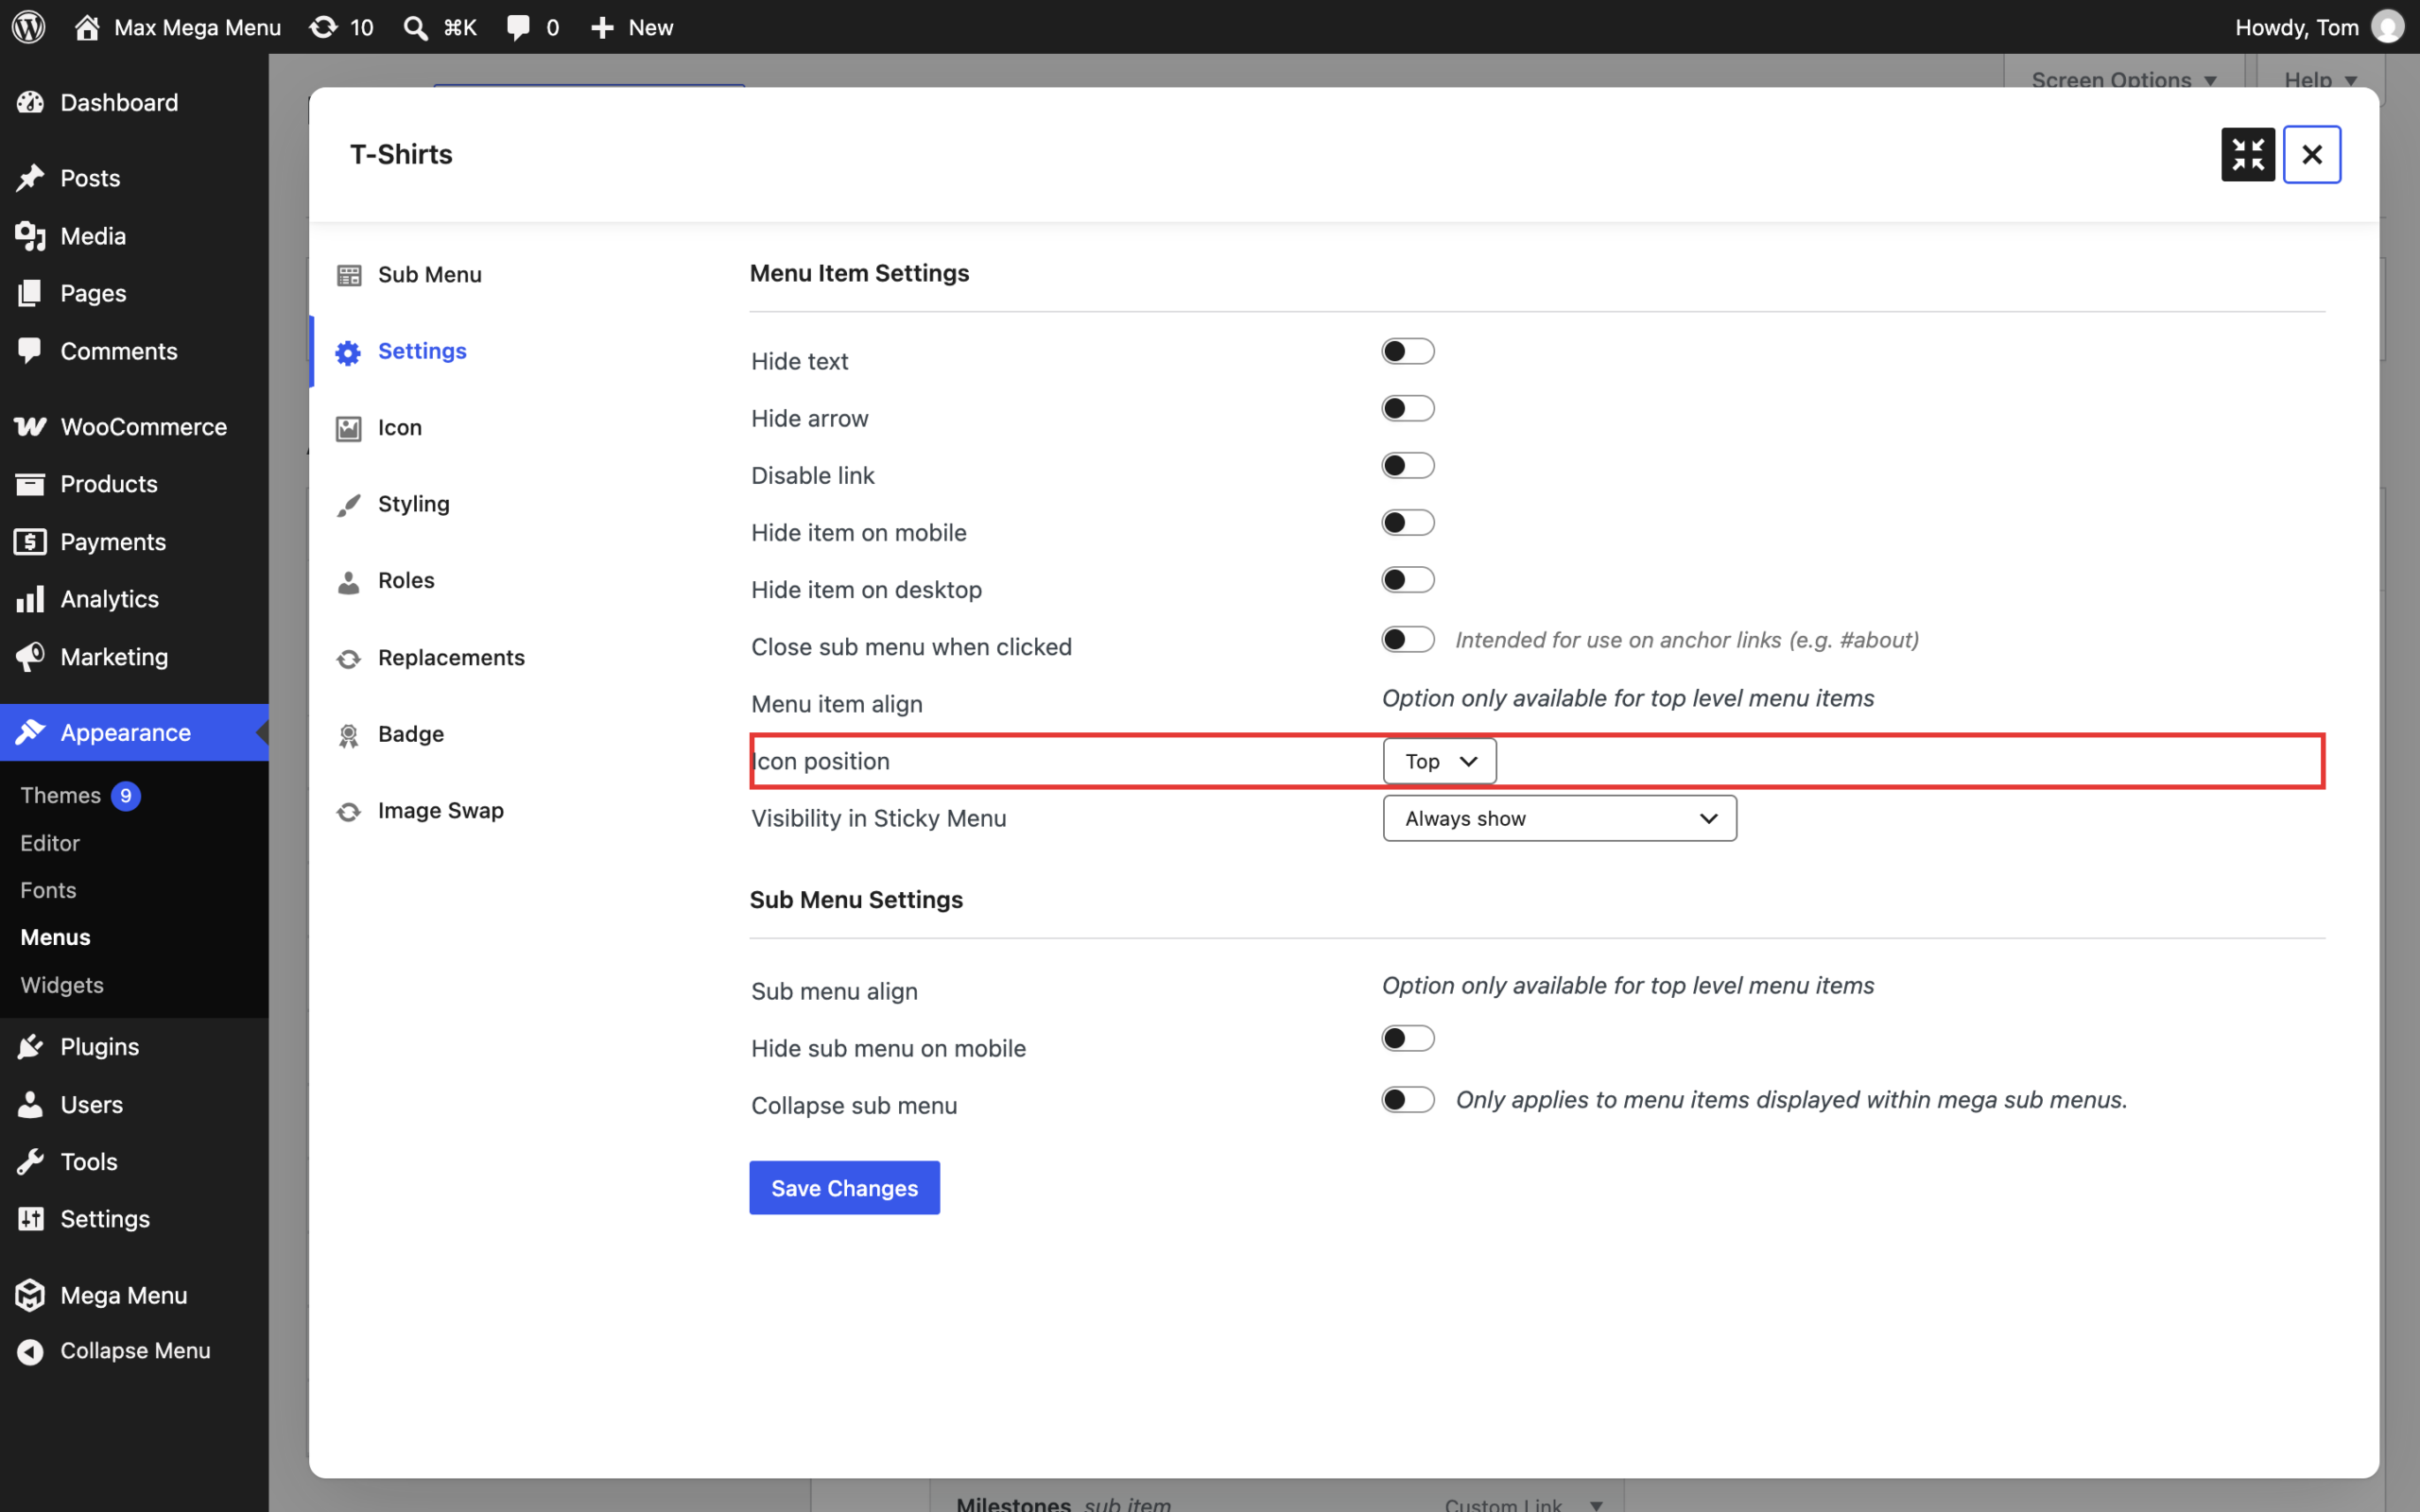
In the Settings tab, set the Icon Position to “Top” and save the settings.
In Icon tab, select a custom icon and set an appropriate size.
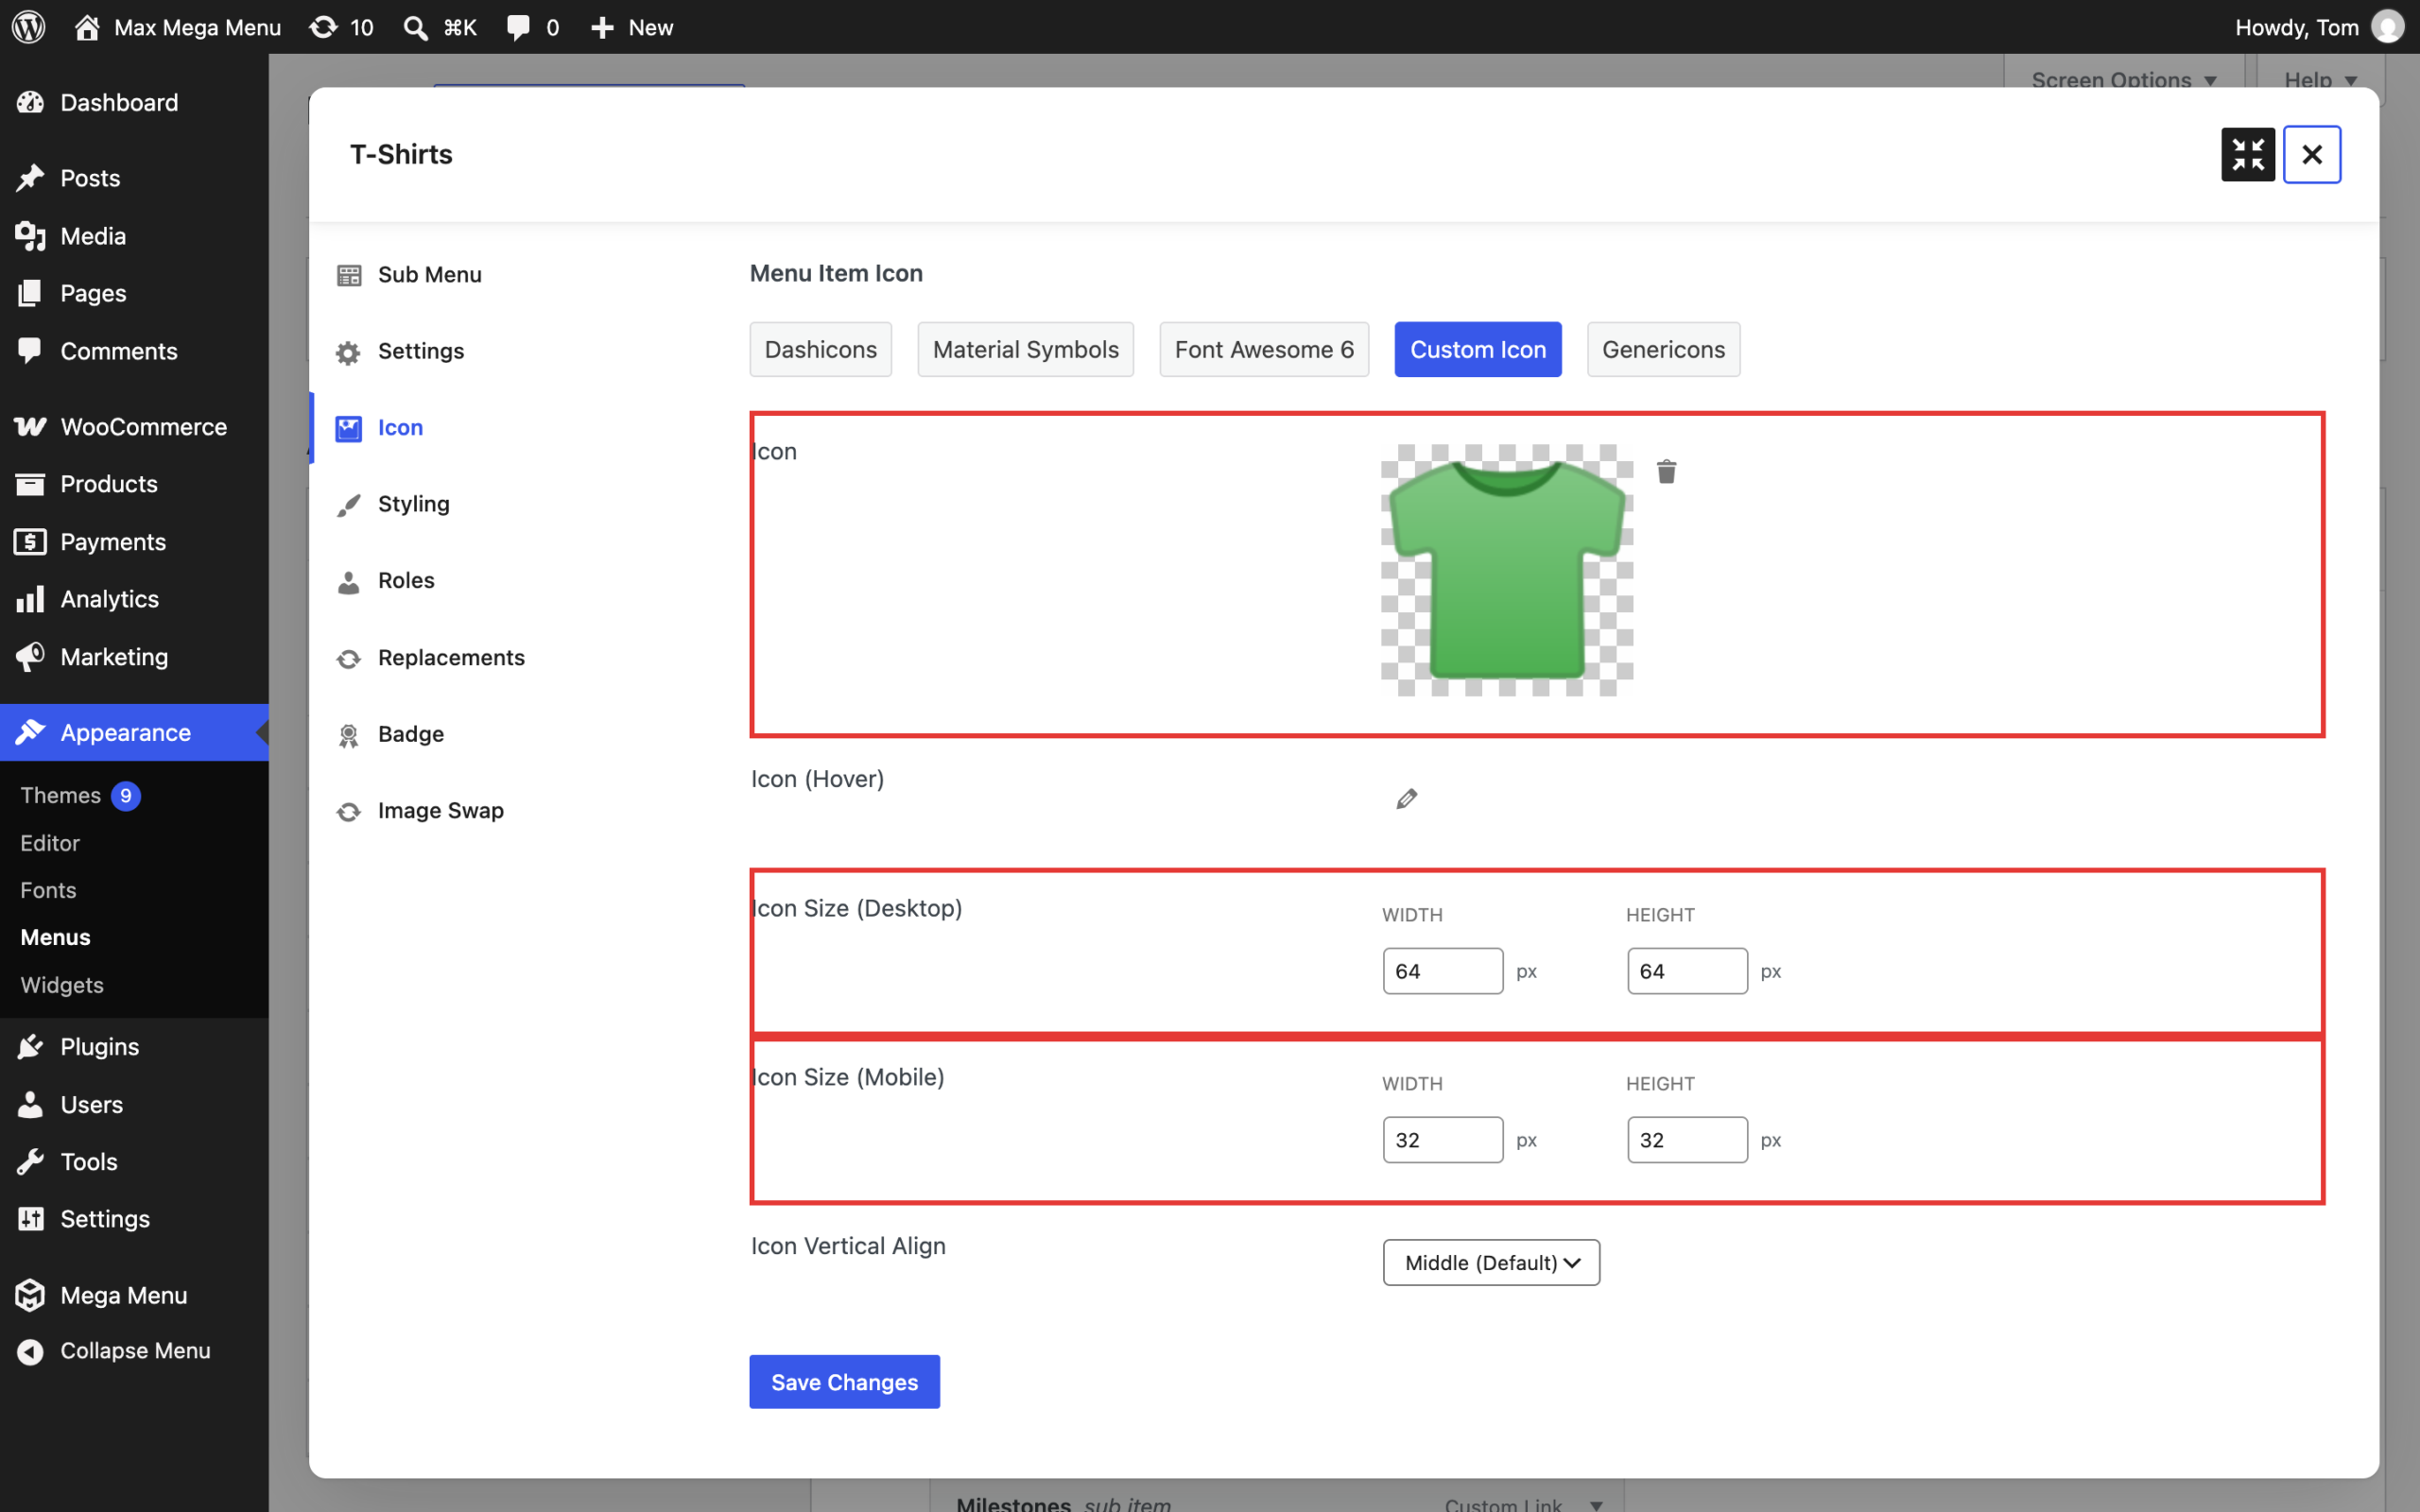
Save the custom icon and repeat this step for the remaining product categories.
Once the icons have been added our menu looks like this:
Step 5: Styling the text
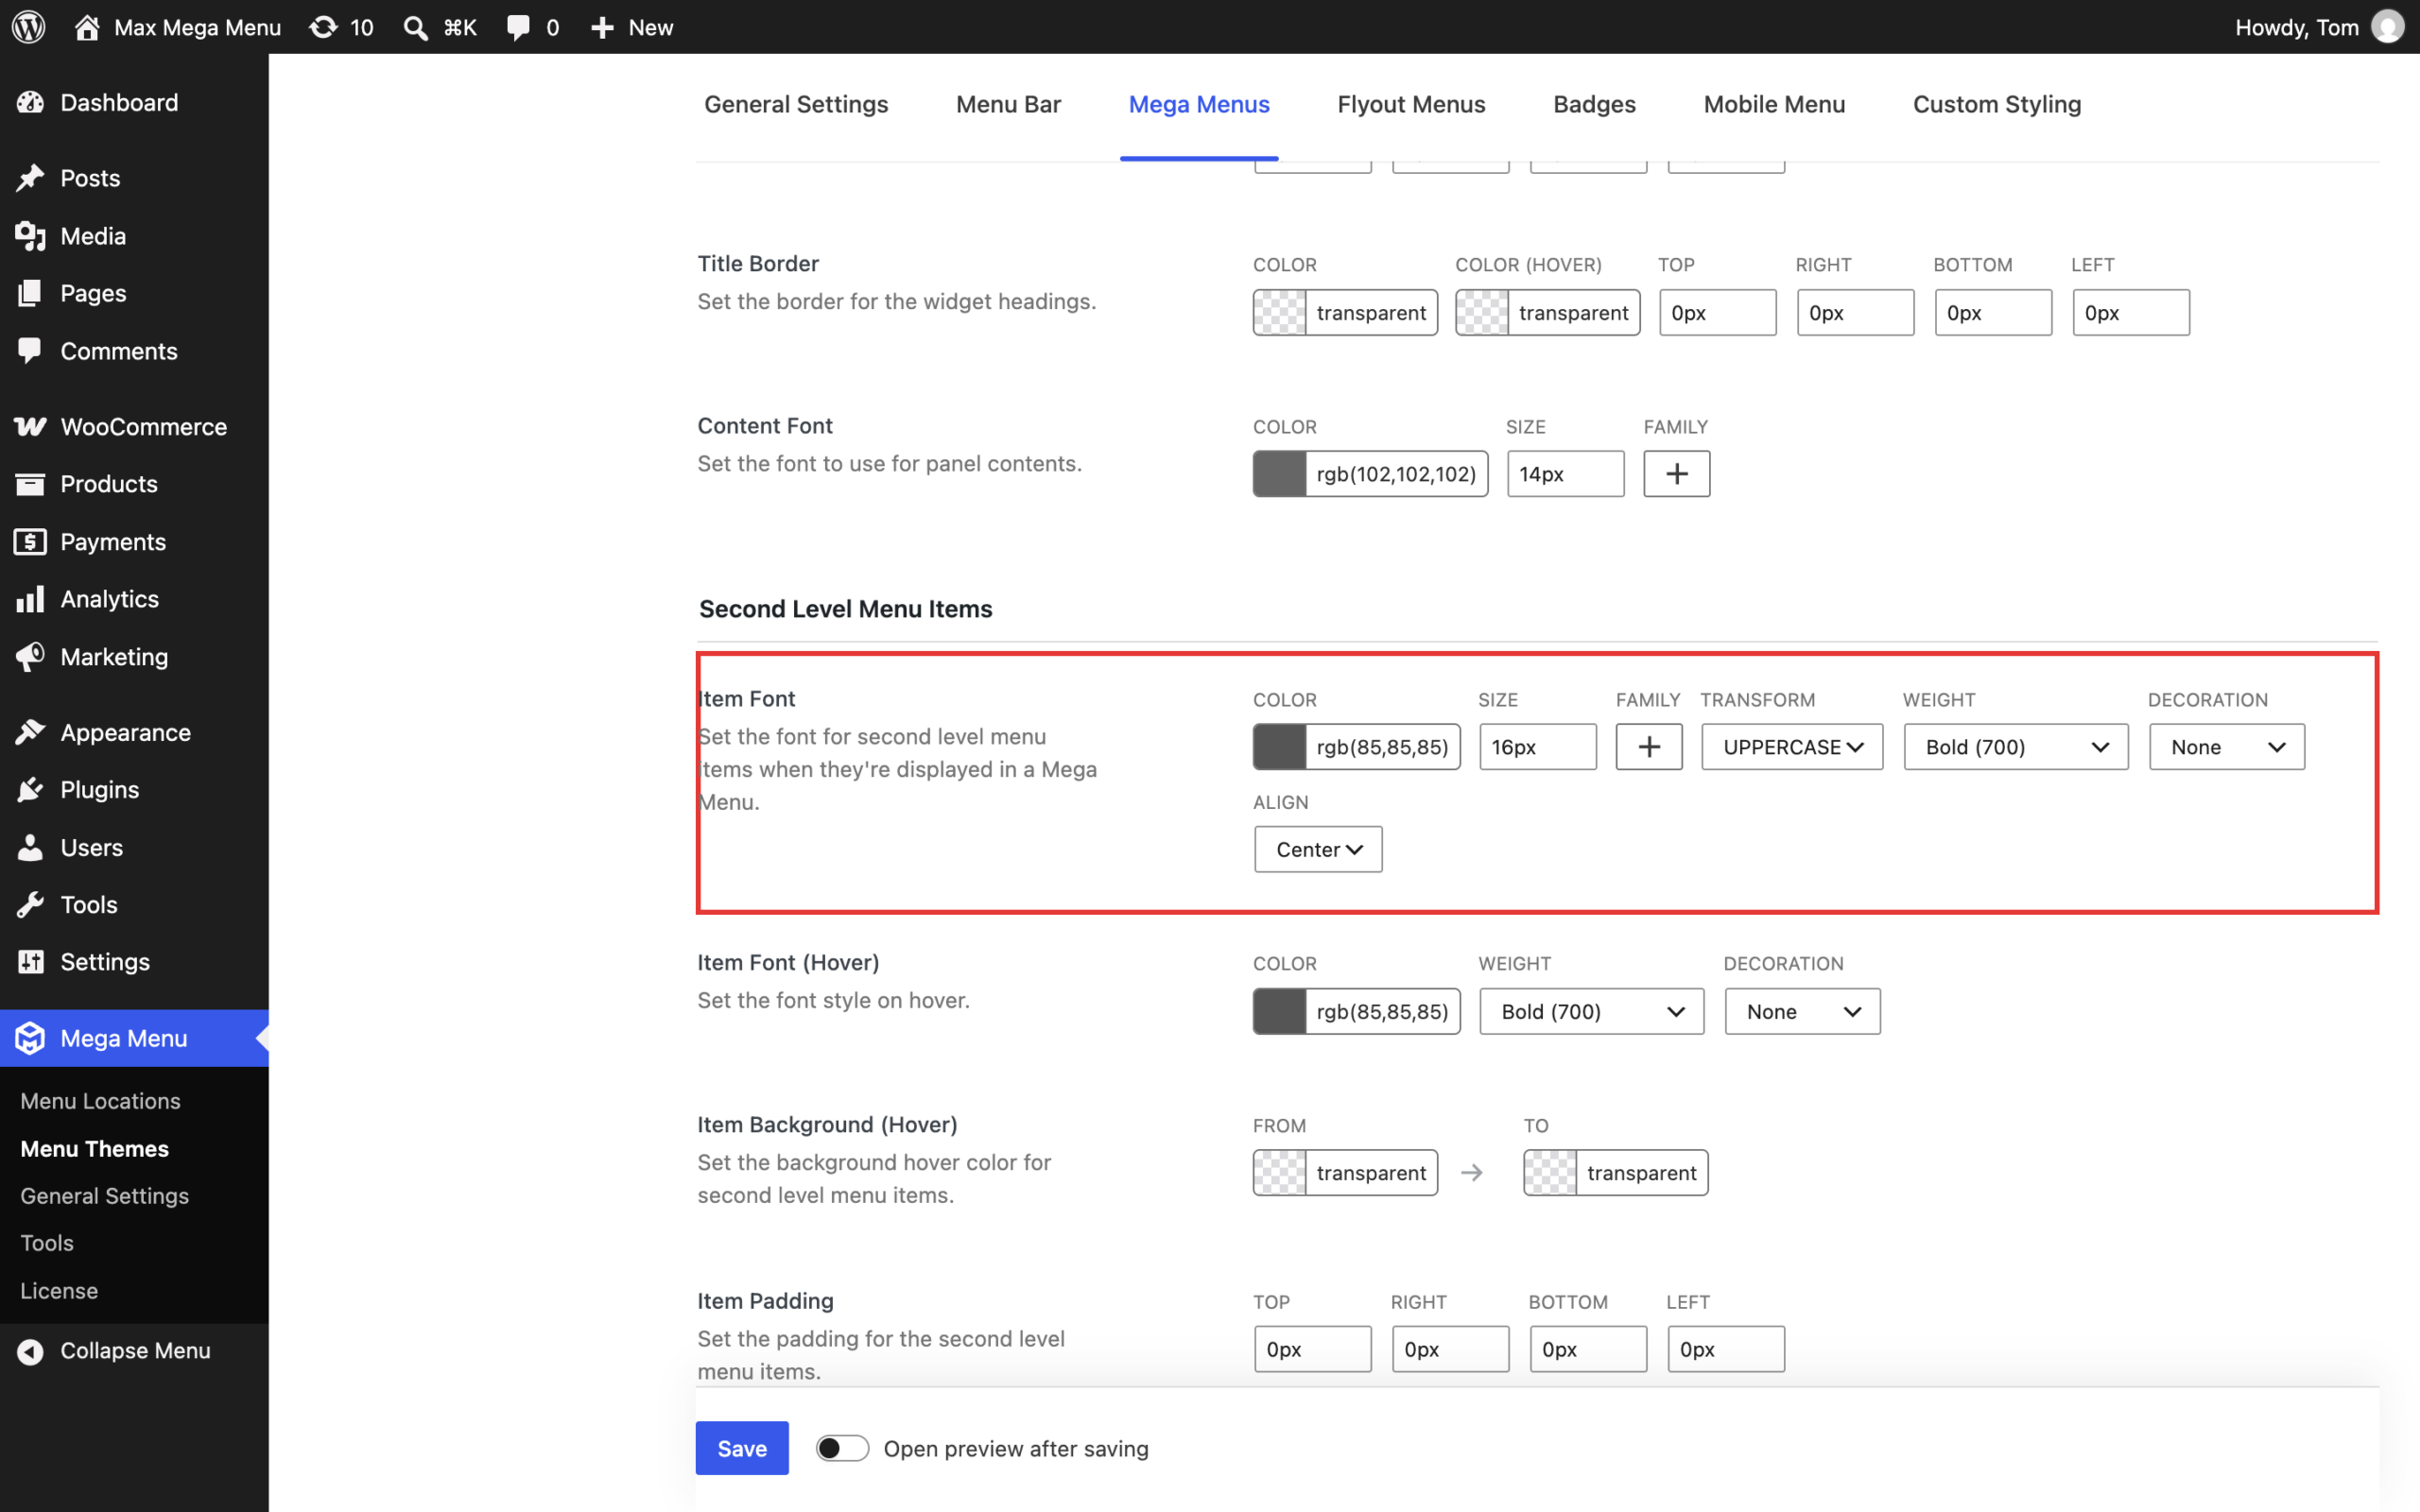
The text beneath each icon needs to be centered. We are using standard menu items to display the categories within the menu so we can use the options built into the Theme Editor. Go to Mega Menu > Menu Themes > Mega Menus and scroll down to the “Second Level Menu Items” section. Here you can set the font options. Set “Align” to “Center”.
If you would prefer to set the styling for your items individually (without affecting other second level items within your menu), you can use Custom Item Styling.
The Result