Bricks
Max Mega Menu includes a native Max Mega Menu element for the Bricks Builder, which can be used to display your mega menu within a Bricks header template (or any Bricks layout).
Step 1: Set up a menu location
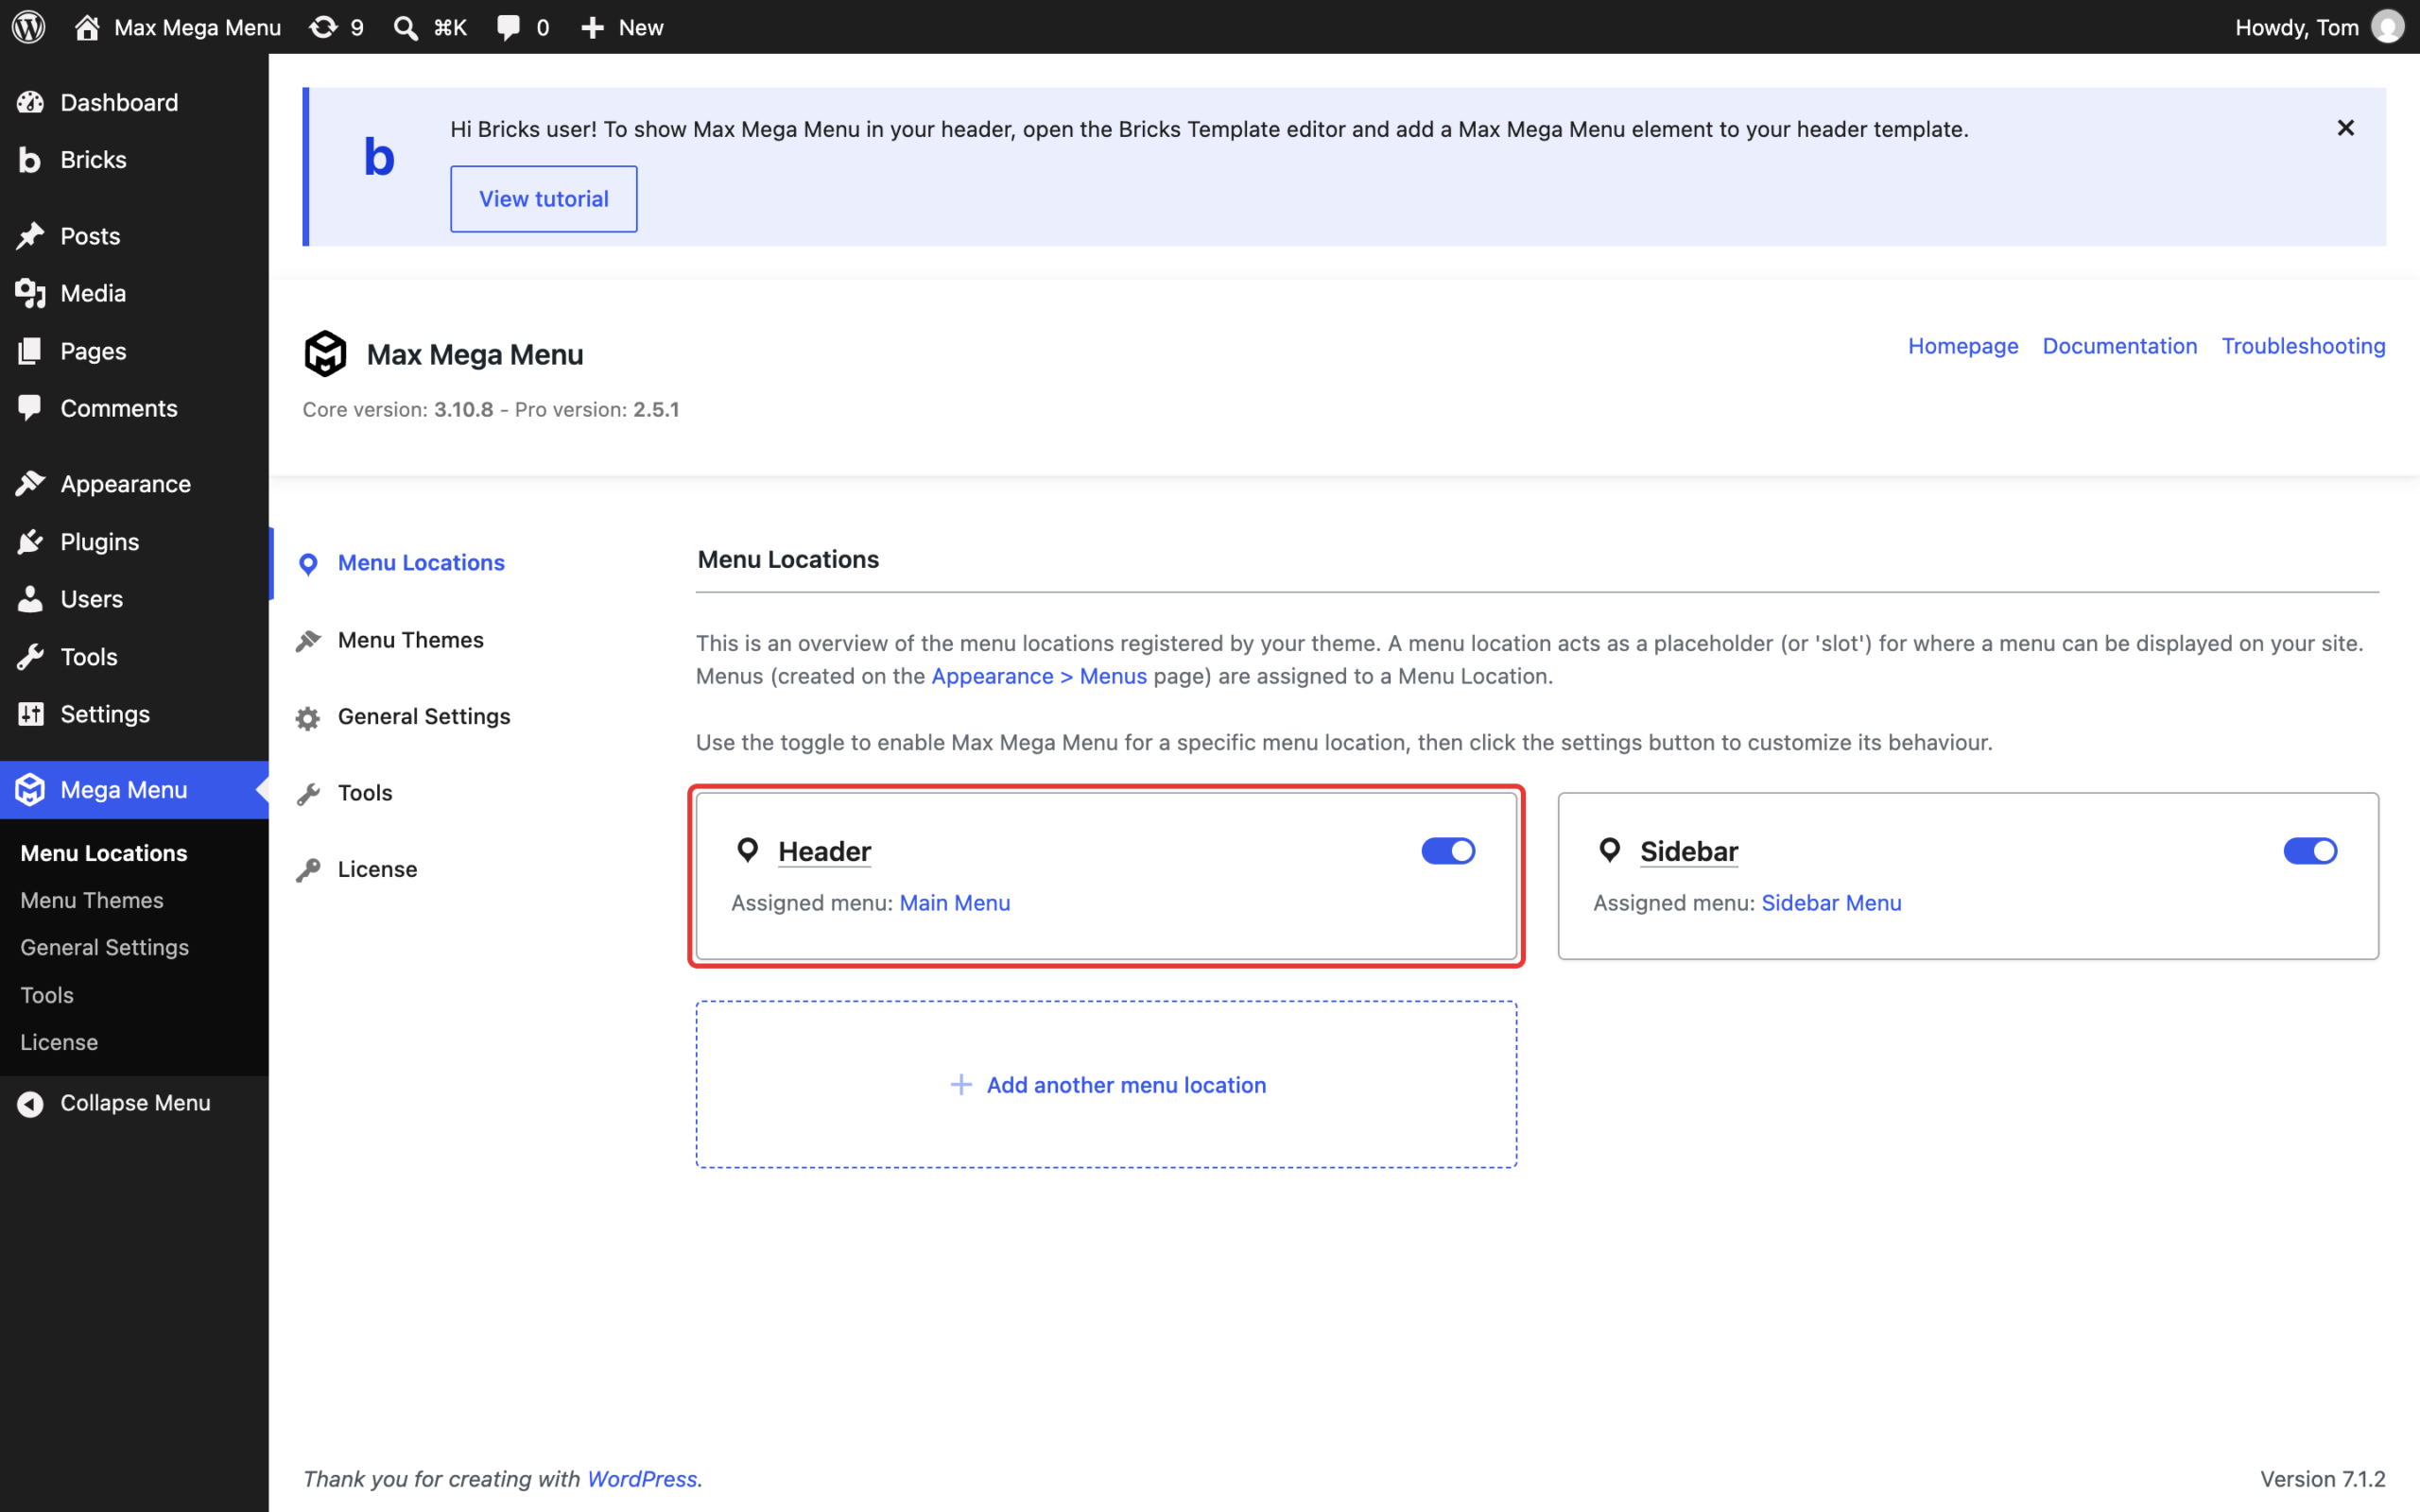
Go to Mega Menu > Menu Locations. Make sure Max Mega Menu is enabled for the location you want to display and that a menu is assigned to it. You can use an existing location, or click “Add another menu location” to create a new one (see Menu Location Settings).
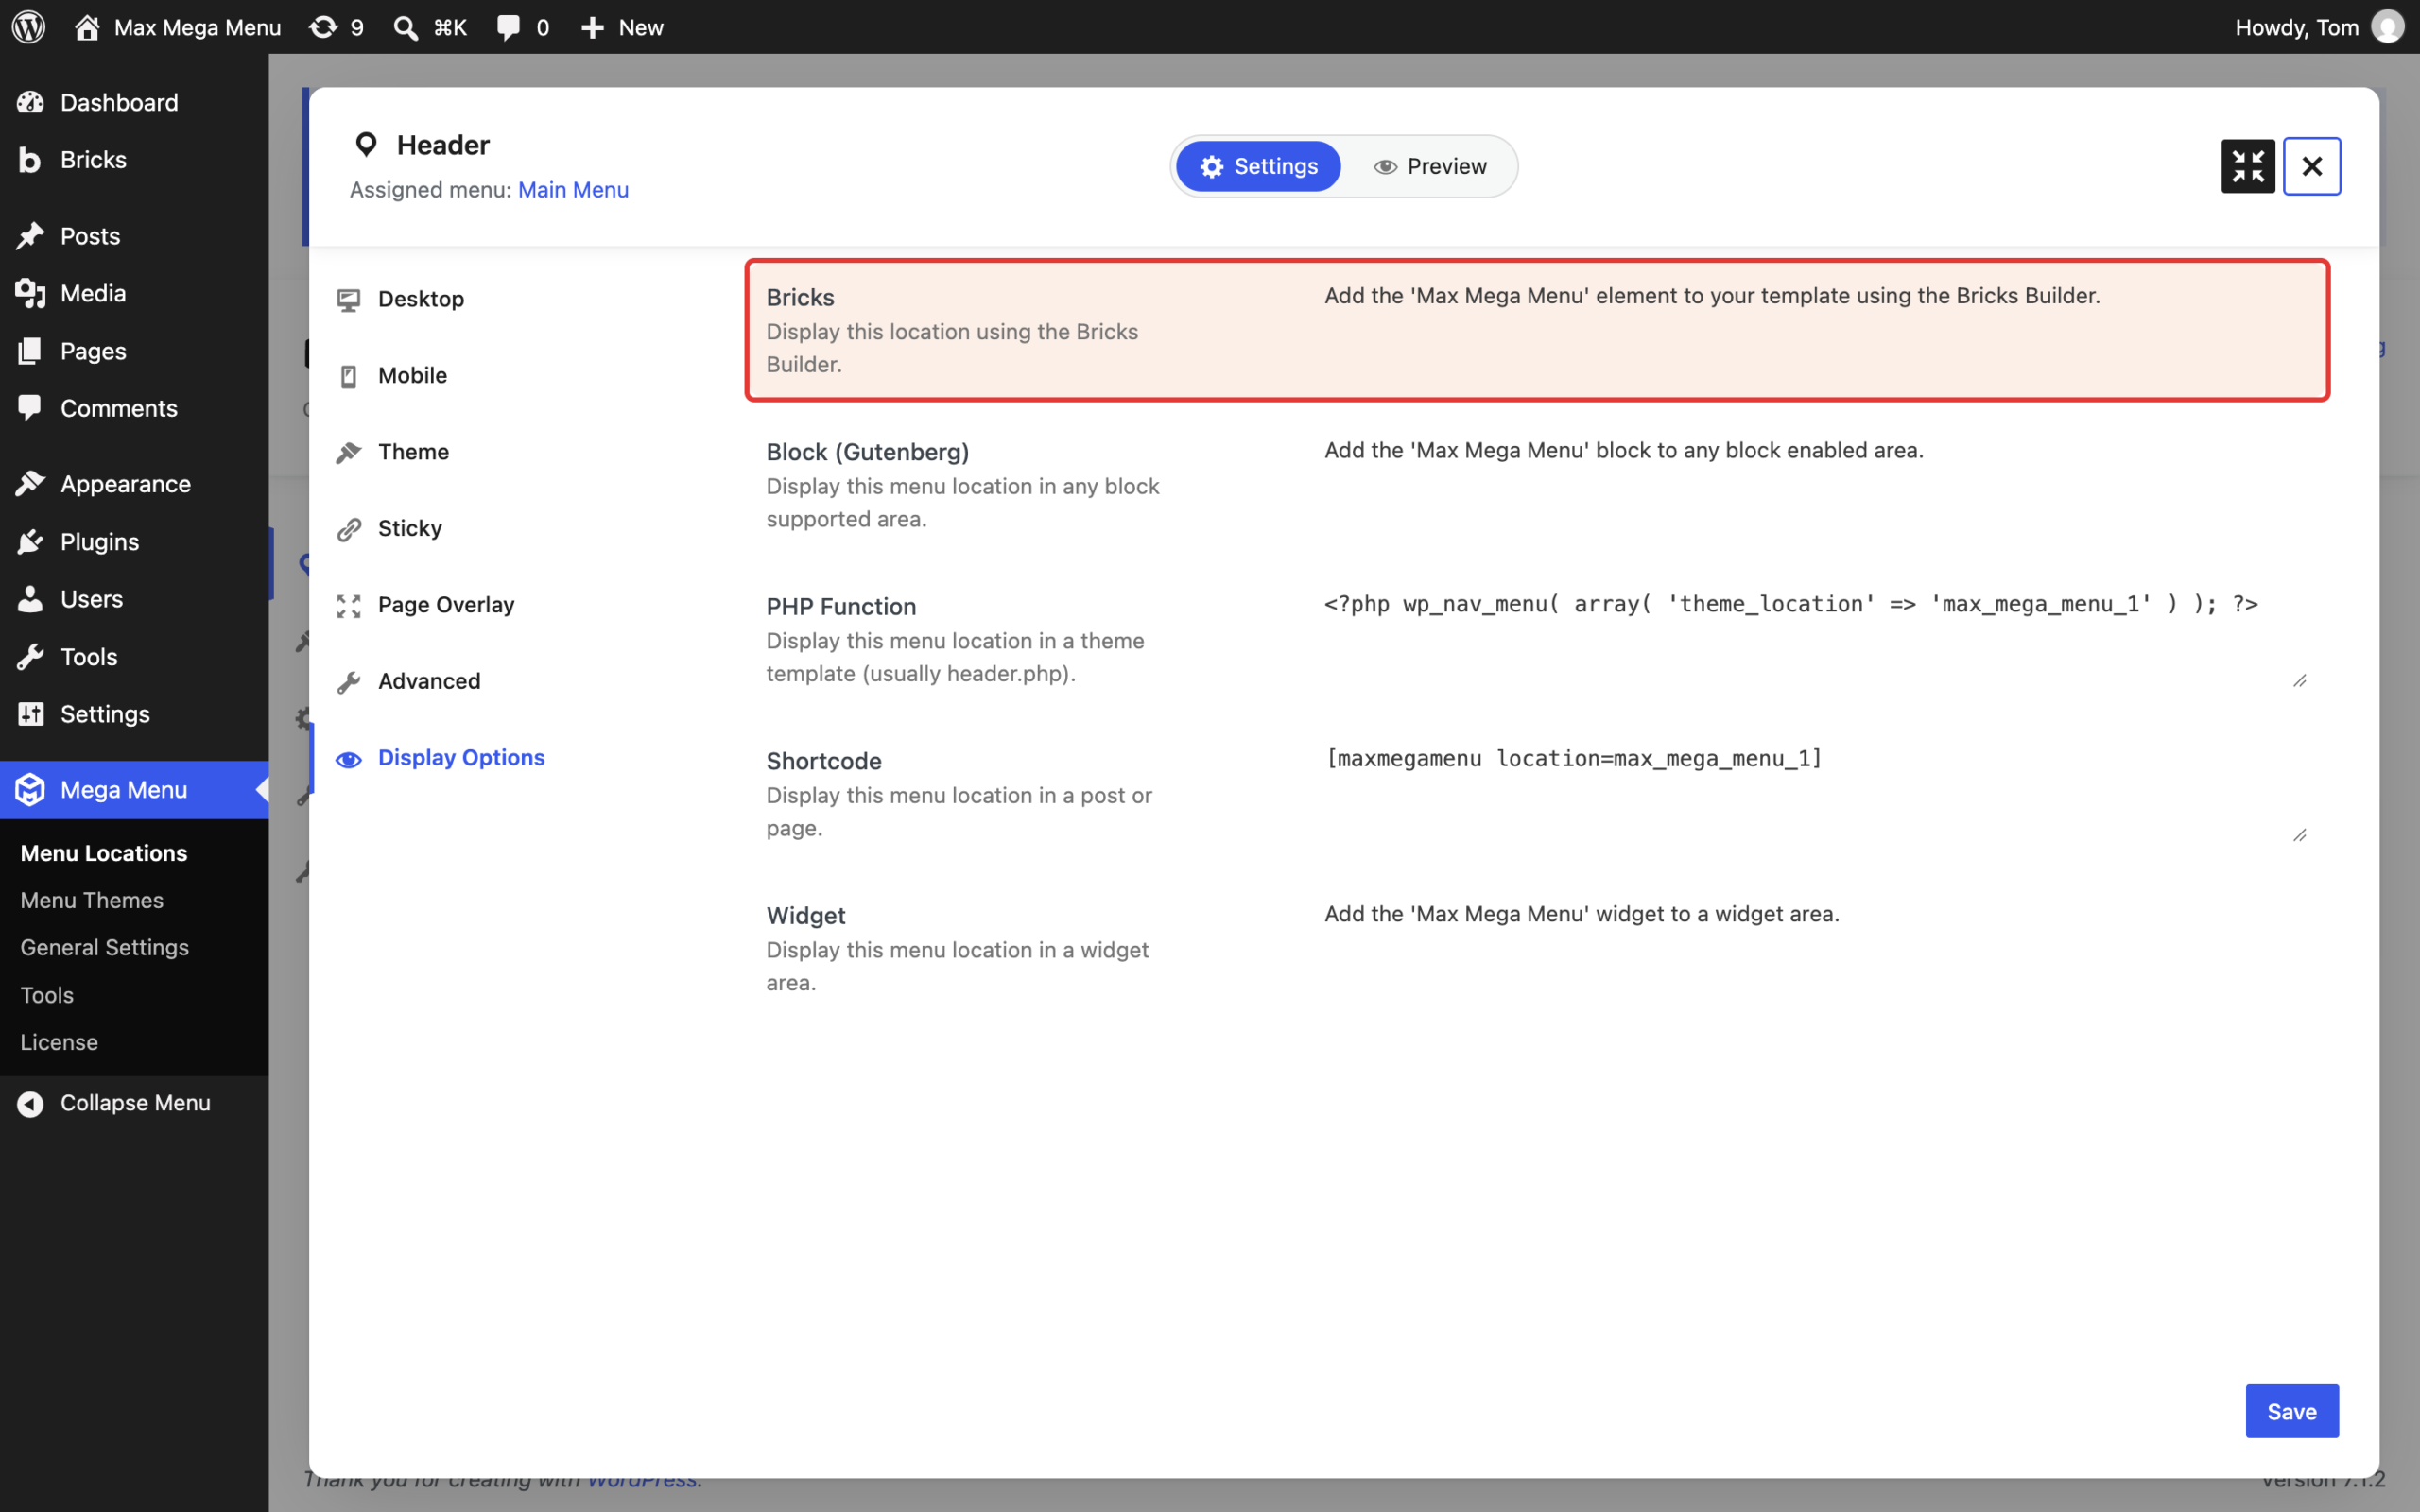
When Bricks is active, the “Display Options” tab of each location’s settings will show a “Bricks” option, confirming that the location can be added using the Bricks Builder.
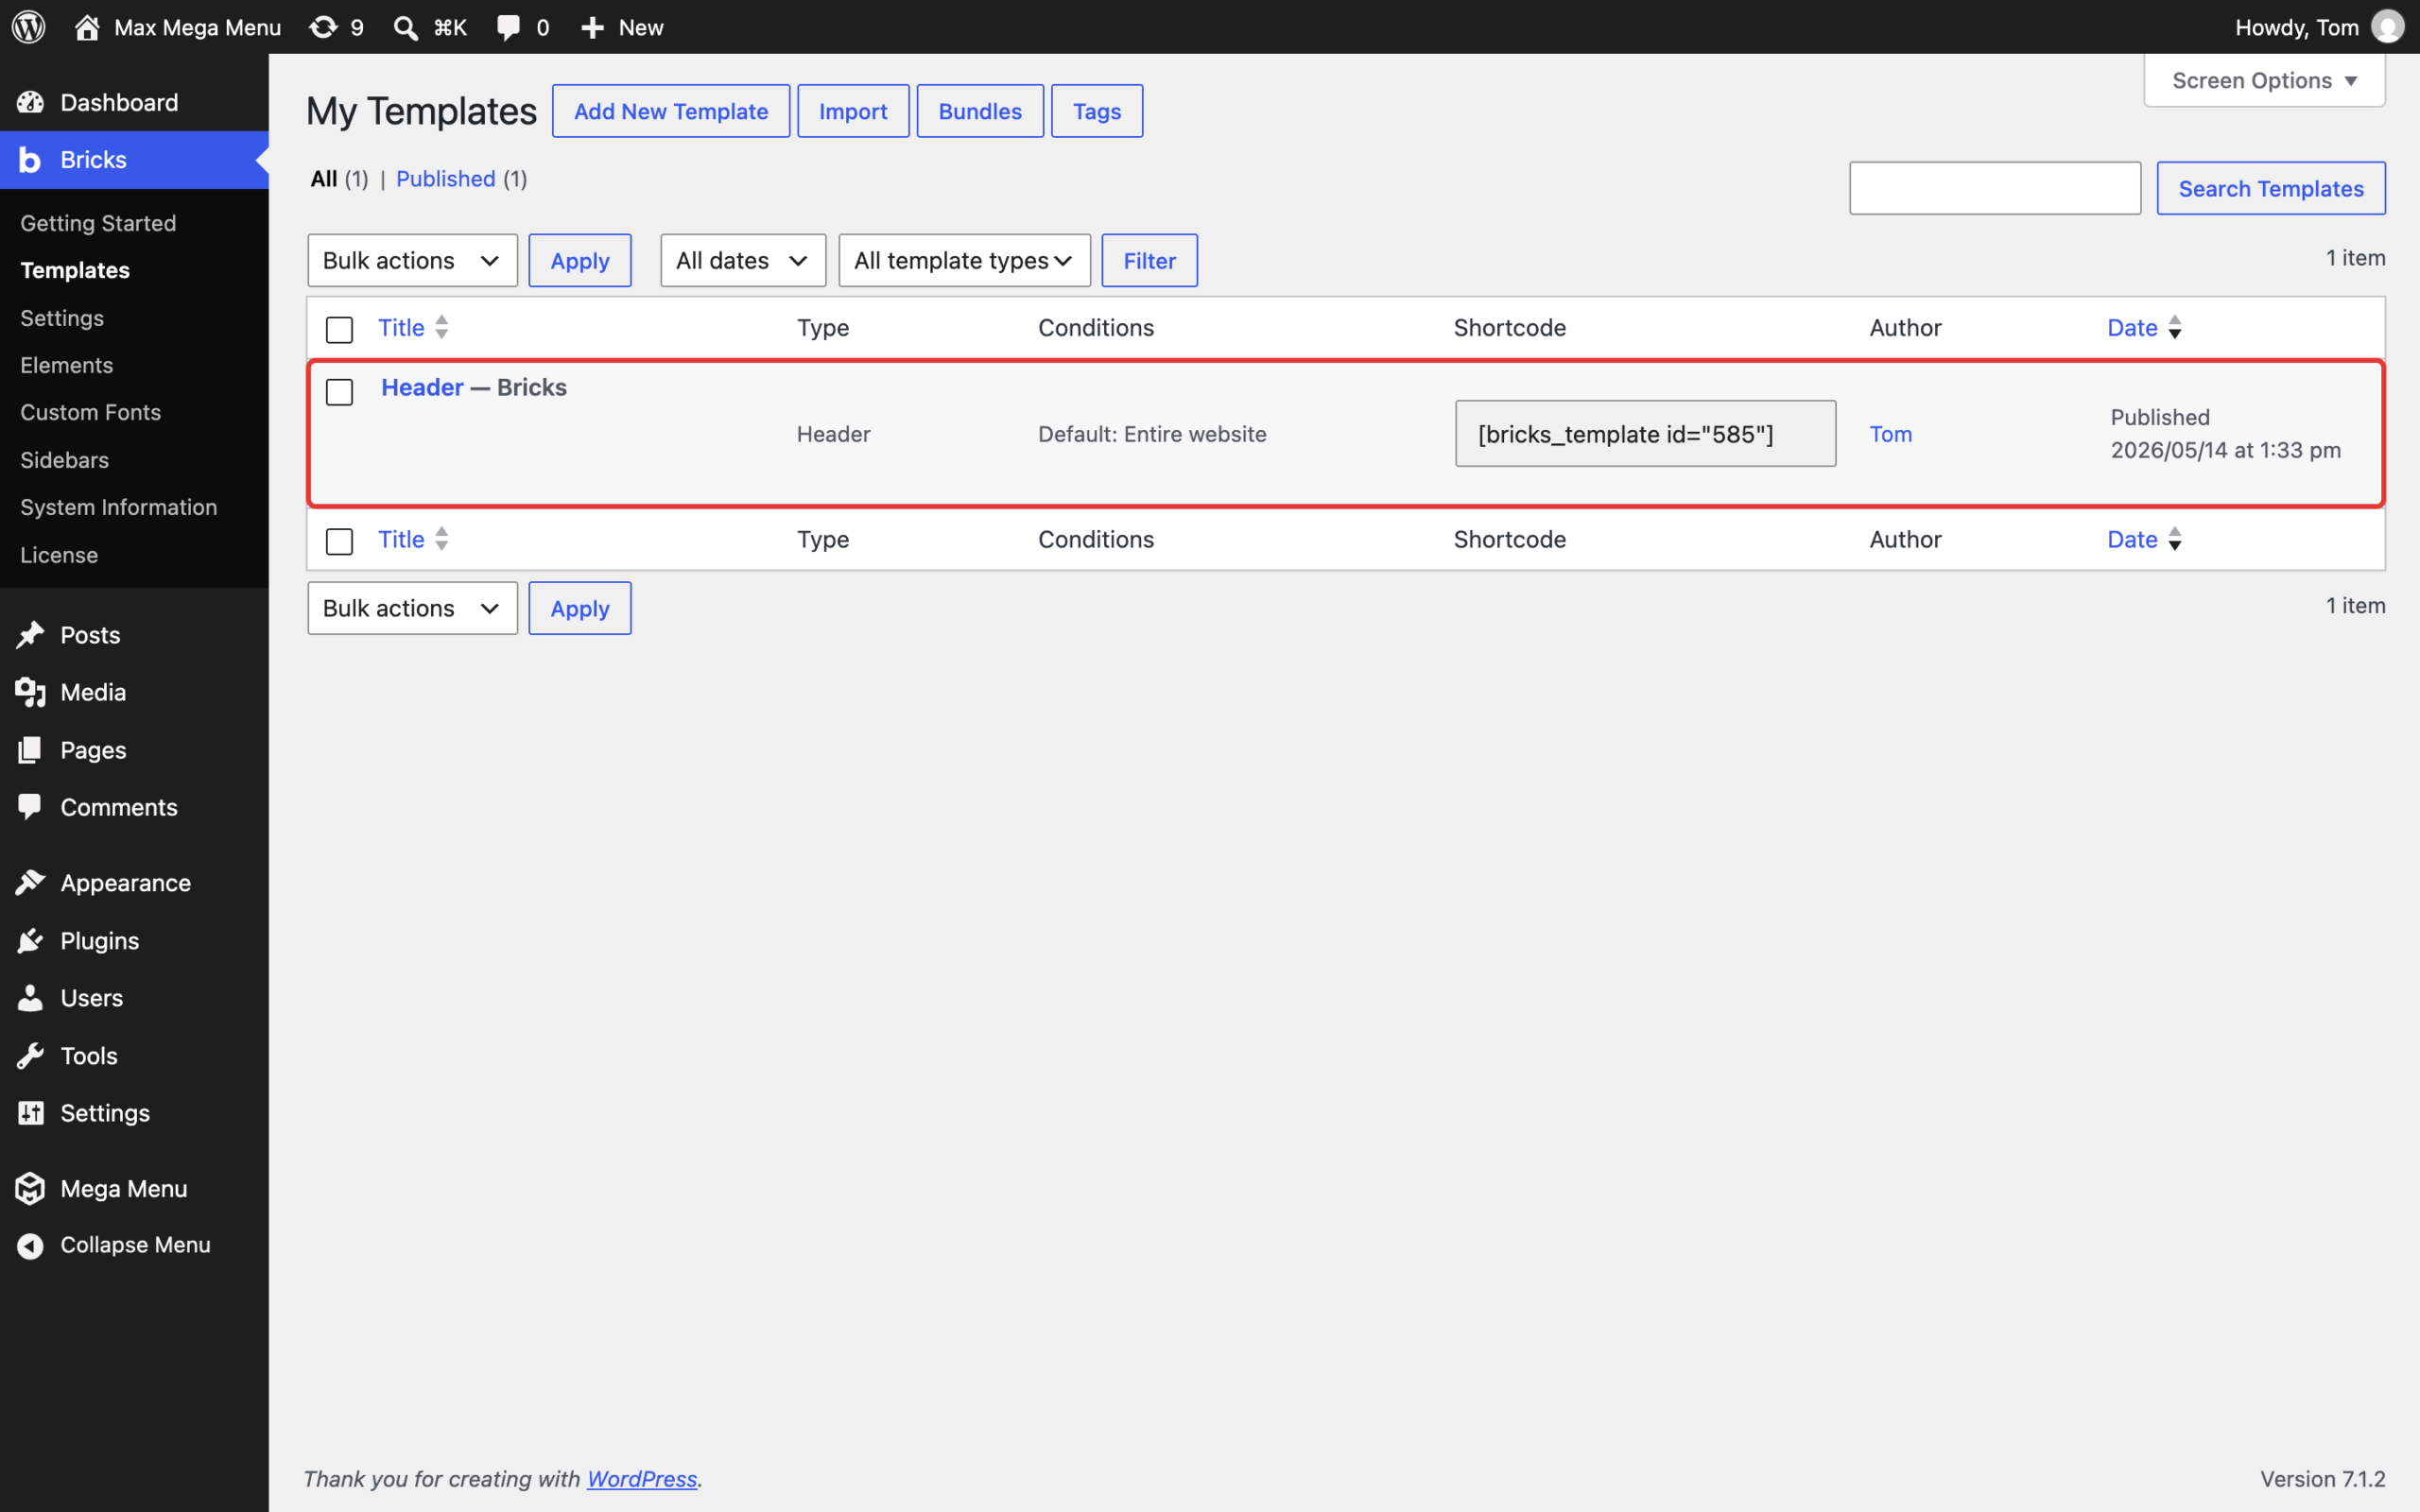
Step 2: Edit your header template
Go to Bricks > Templates. Create a new template with the type “Header” (and set its conditions, e.g. “Entire website”), or edit your existing header template with Bricks.
Step 3: Add the Max Mega Menu element
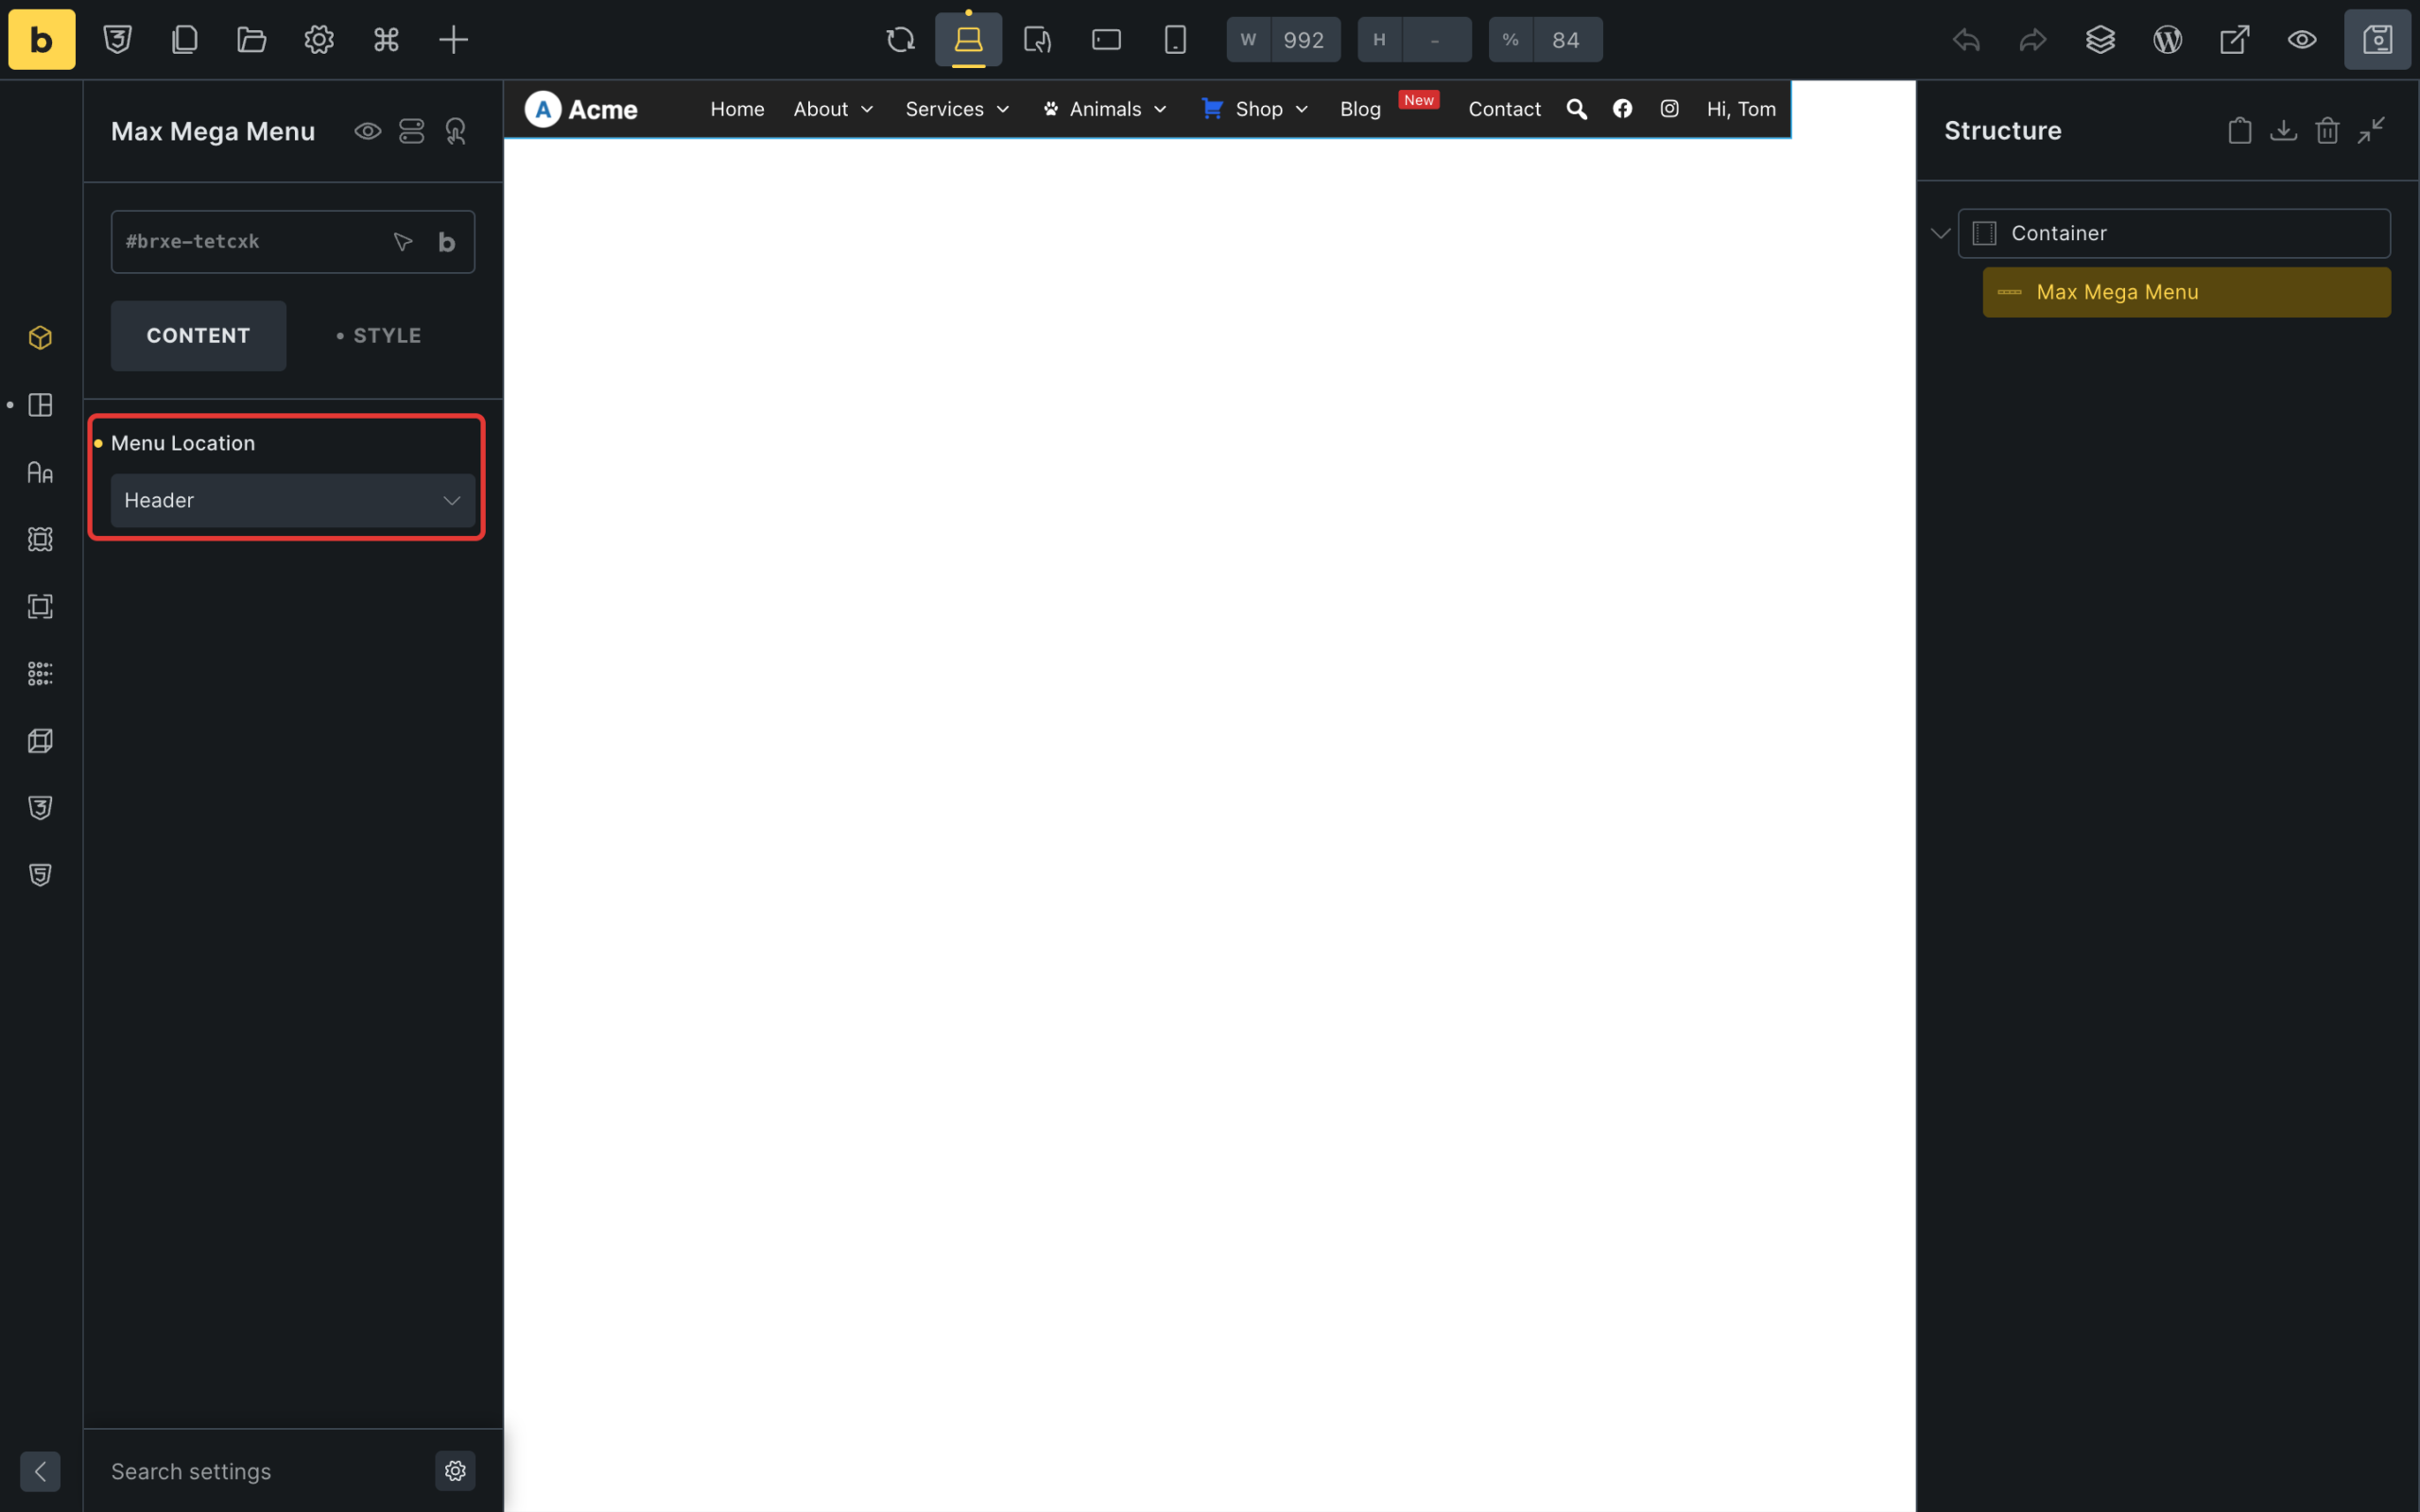
In the Bricks Builder, search for “Max Mega Menu” in the elements panel and drag the Max Mega Menu element into your header.
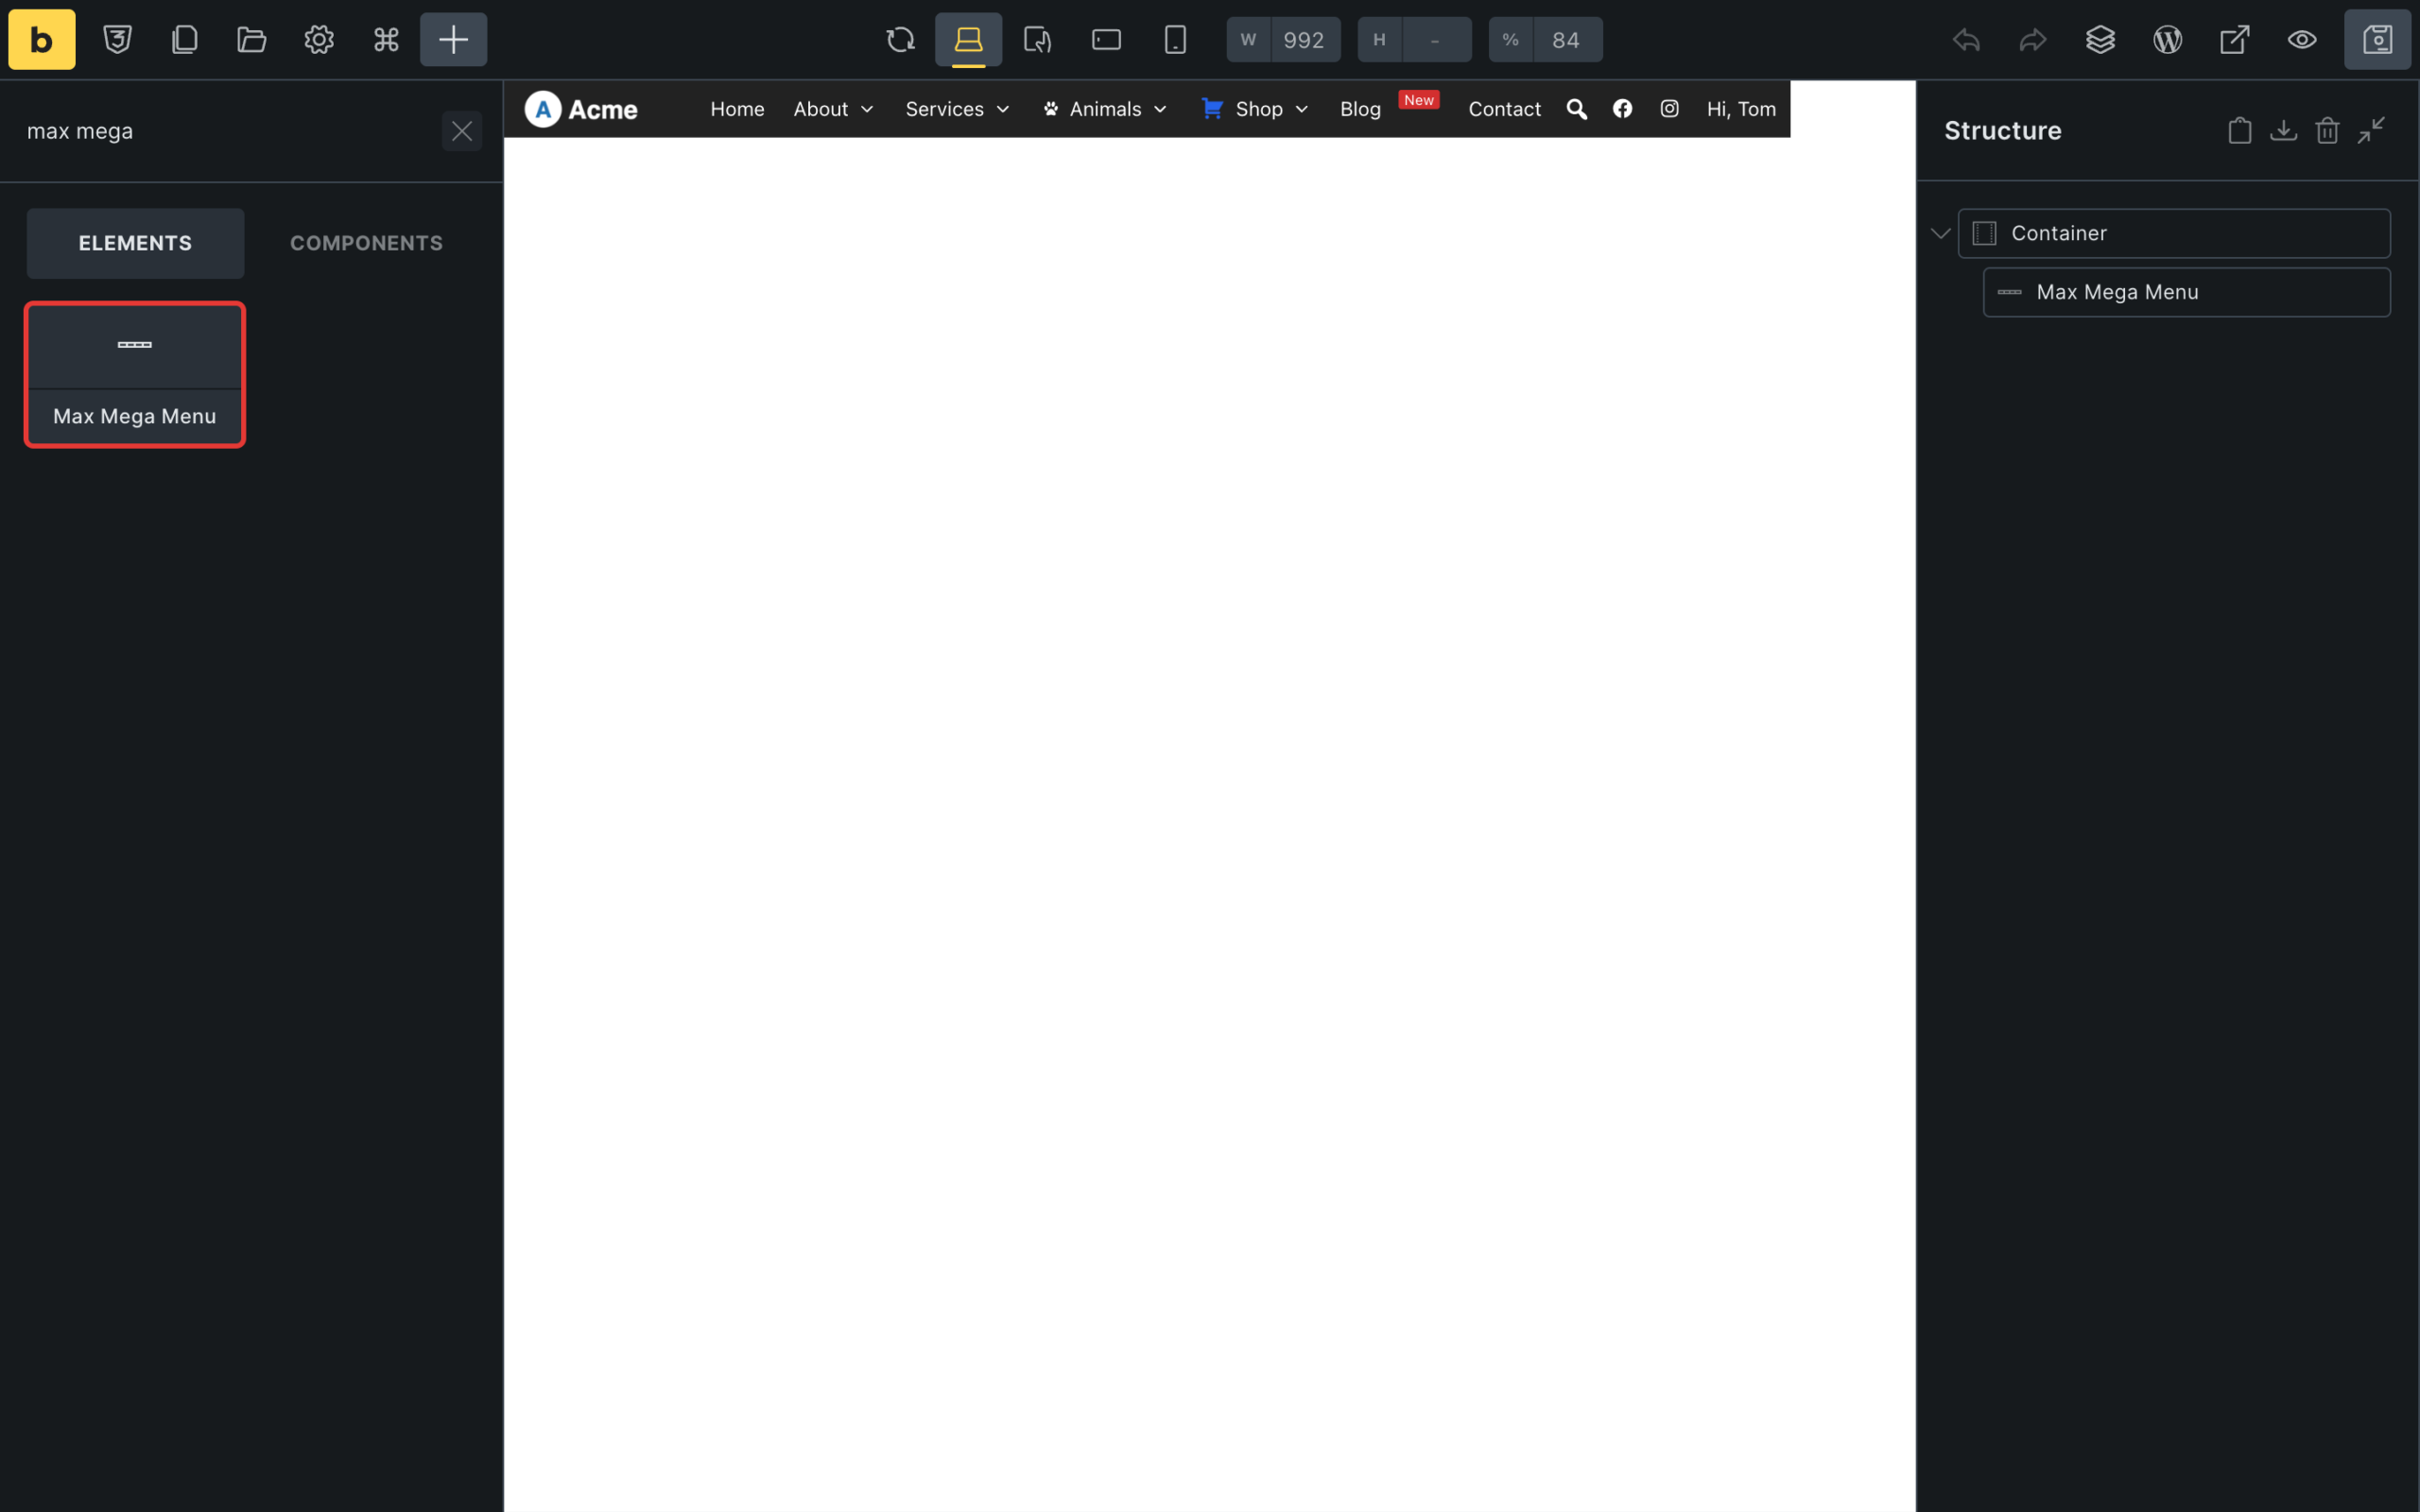
In the element settings, choose the menu location to display under “Menu Location”. The menu will be displayed in the builder immediately. Save the template.
End Result
Max Mega Menu is now displayed in your Bricks header.
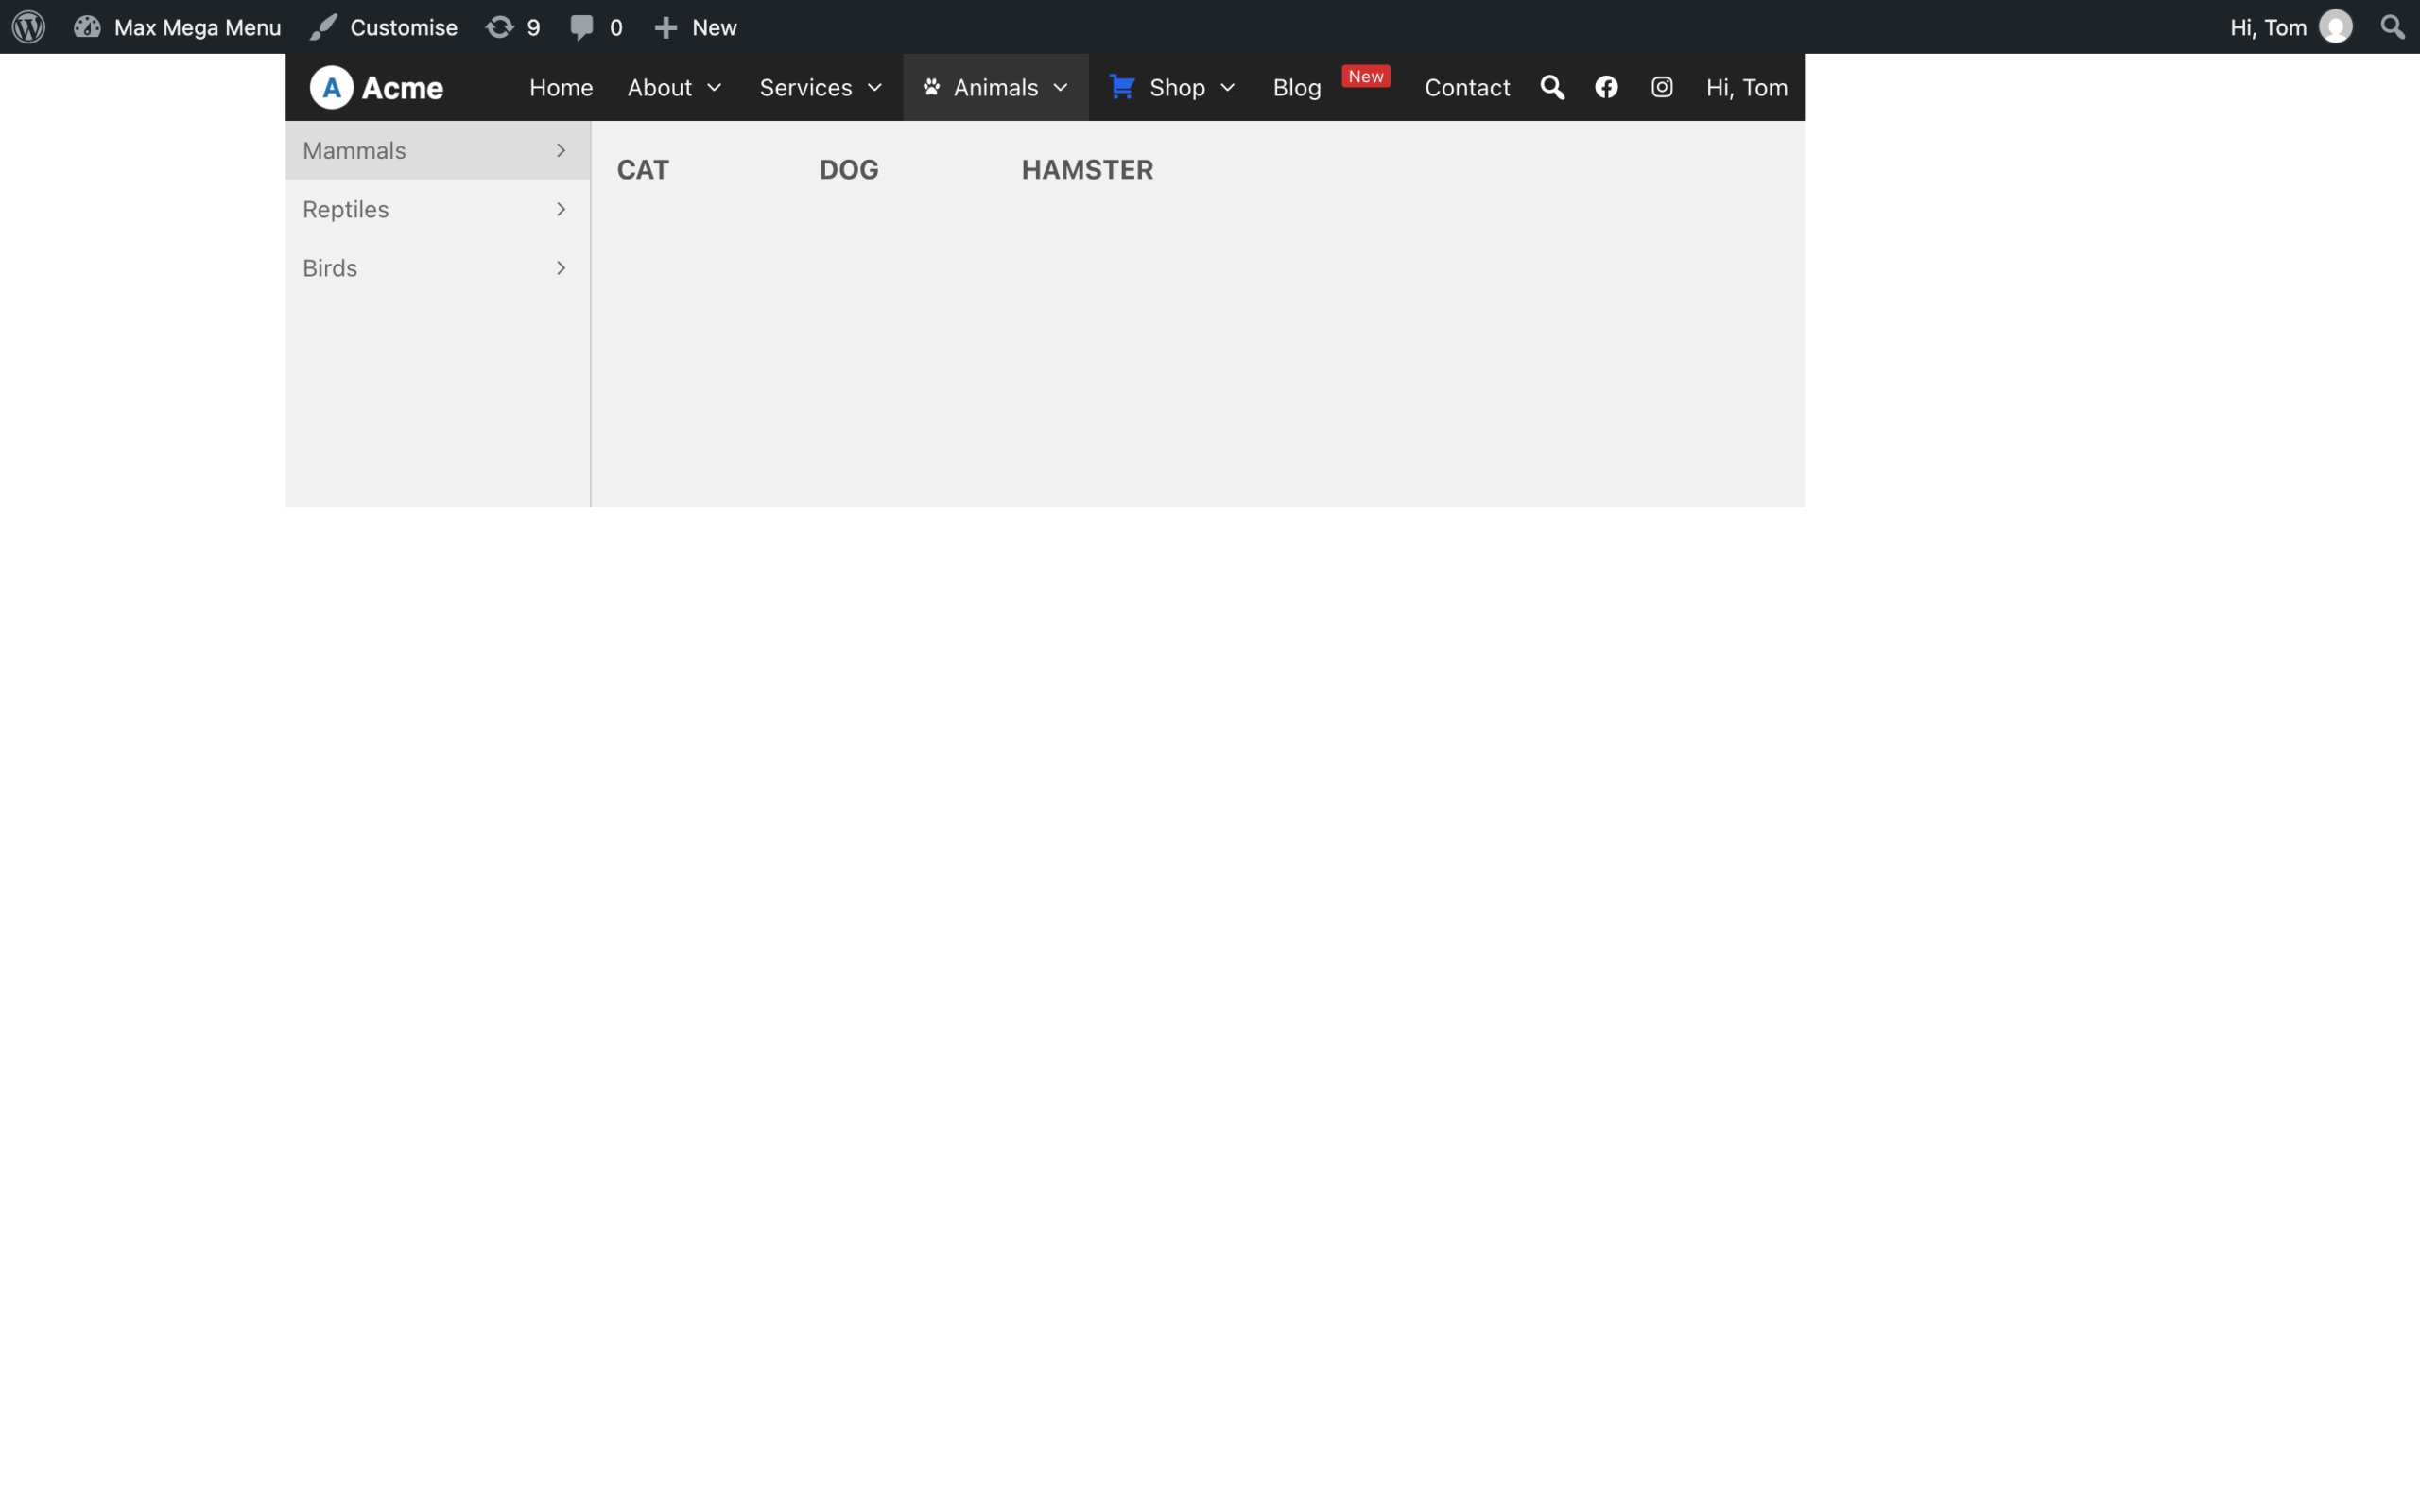
From here you can build the menu out, including changing the styling, adding a logo, a search box, custom icons etc.